Demo Days (Ruby love)
Originally posted April 19th, 2019.
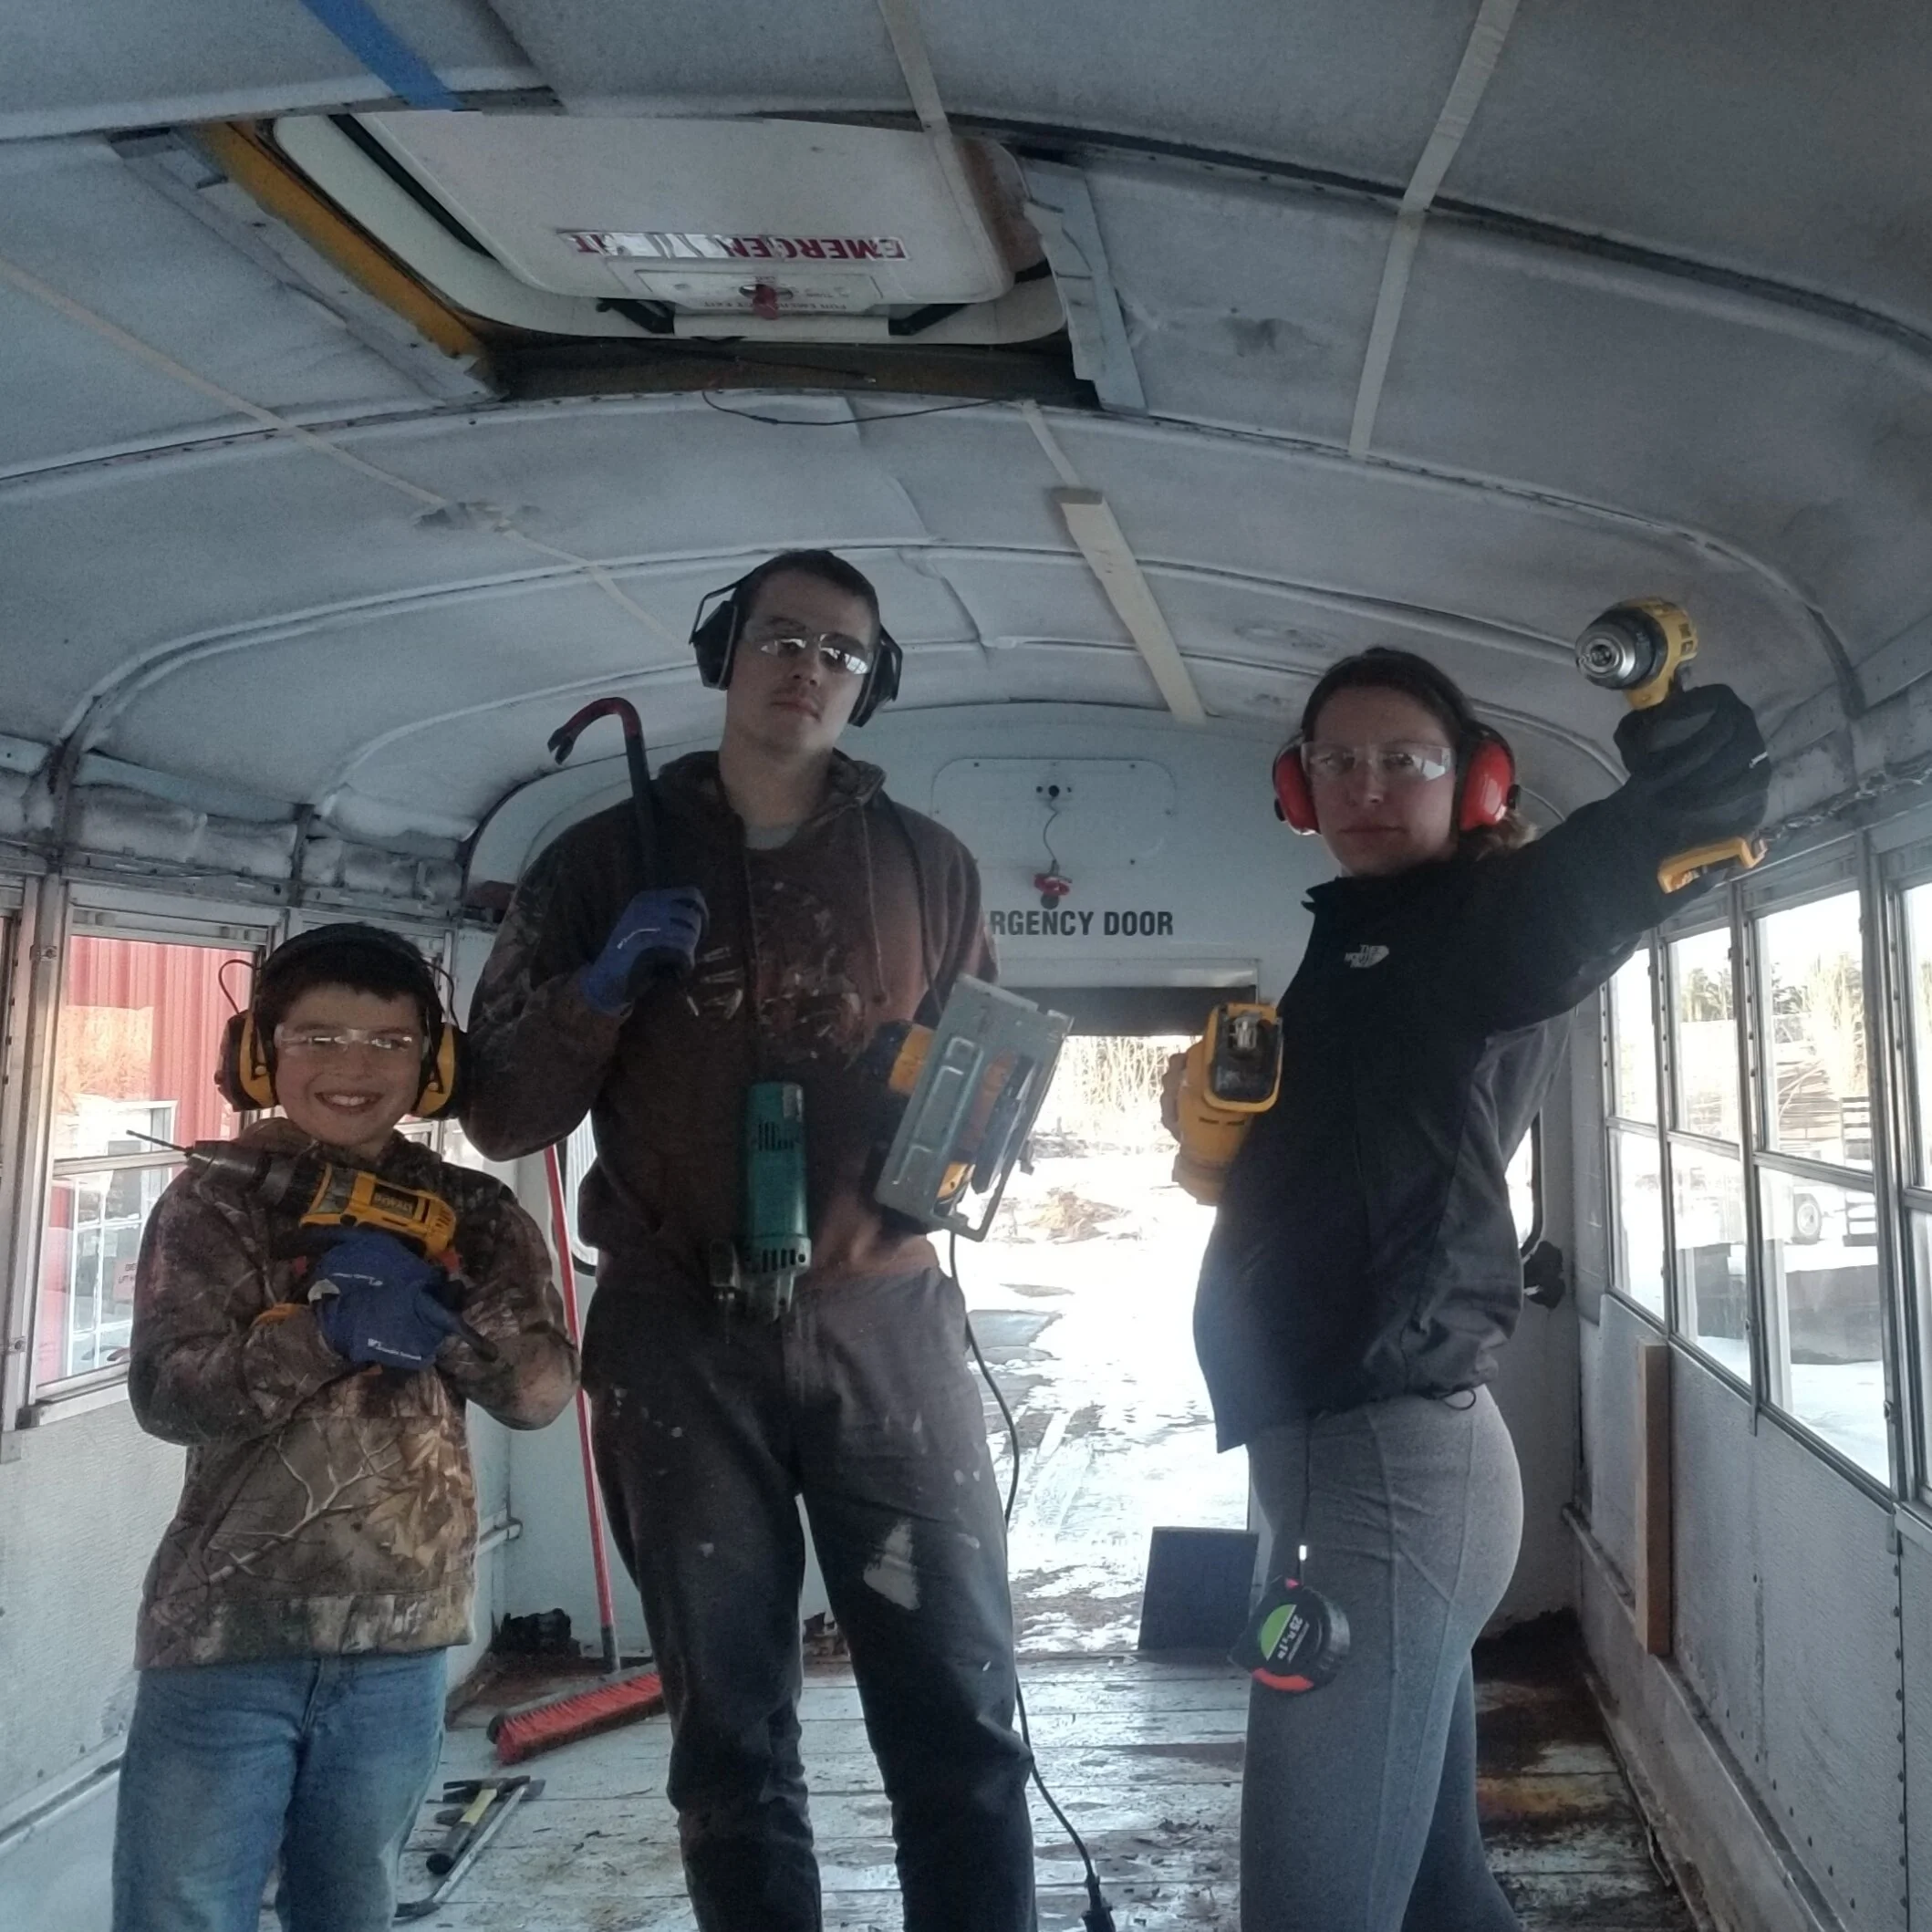
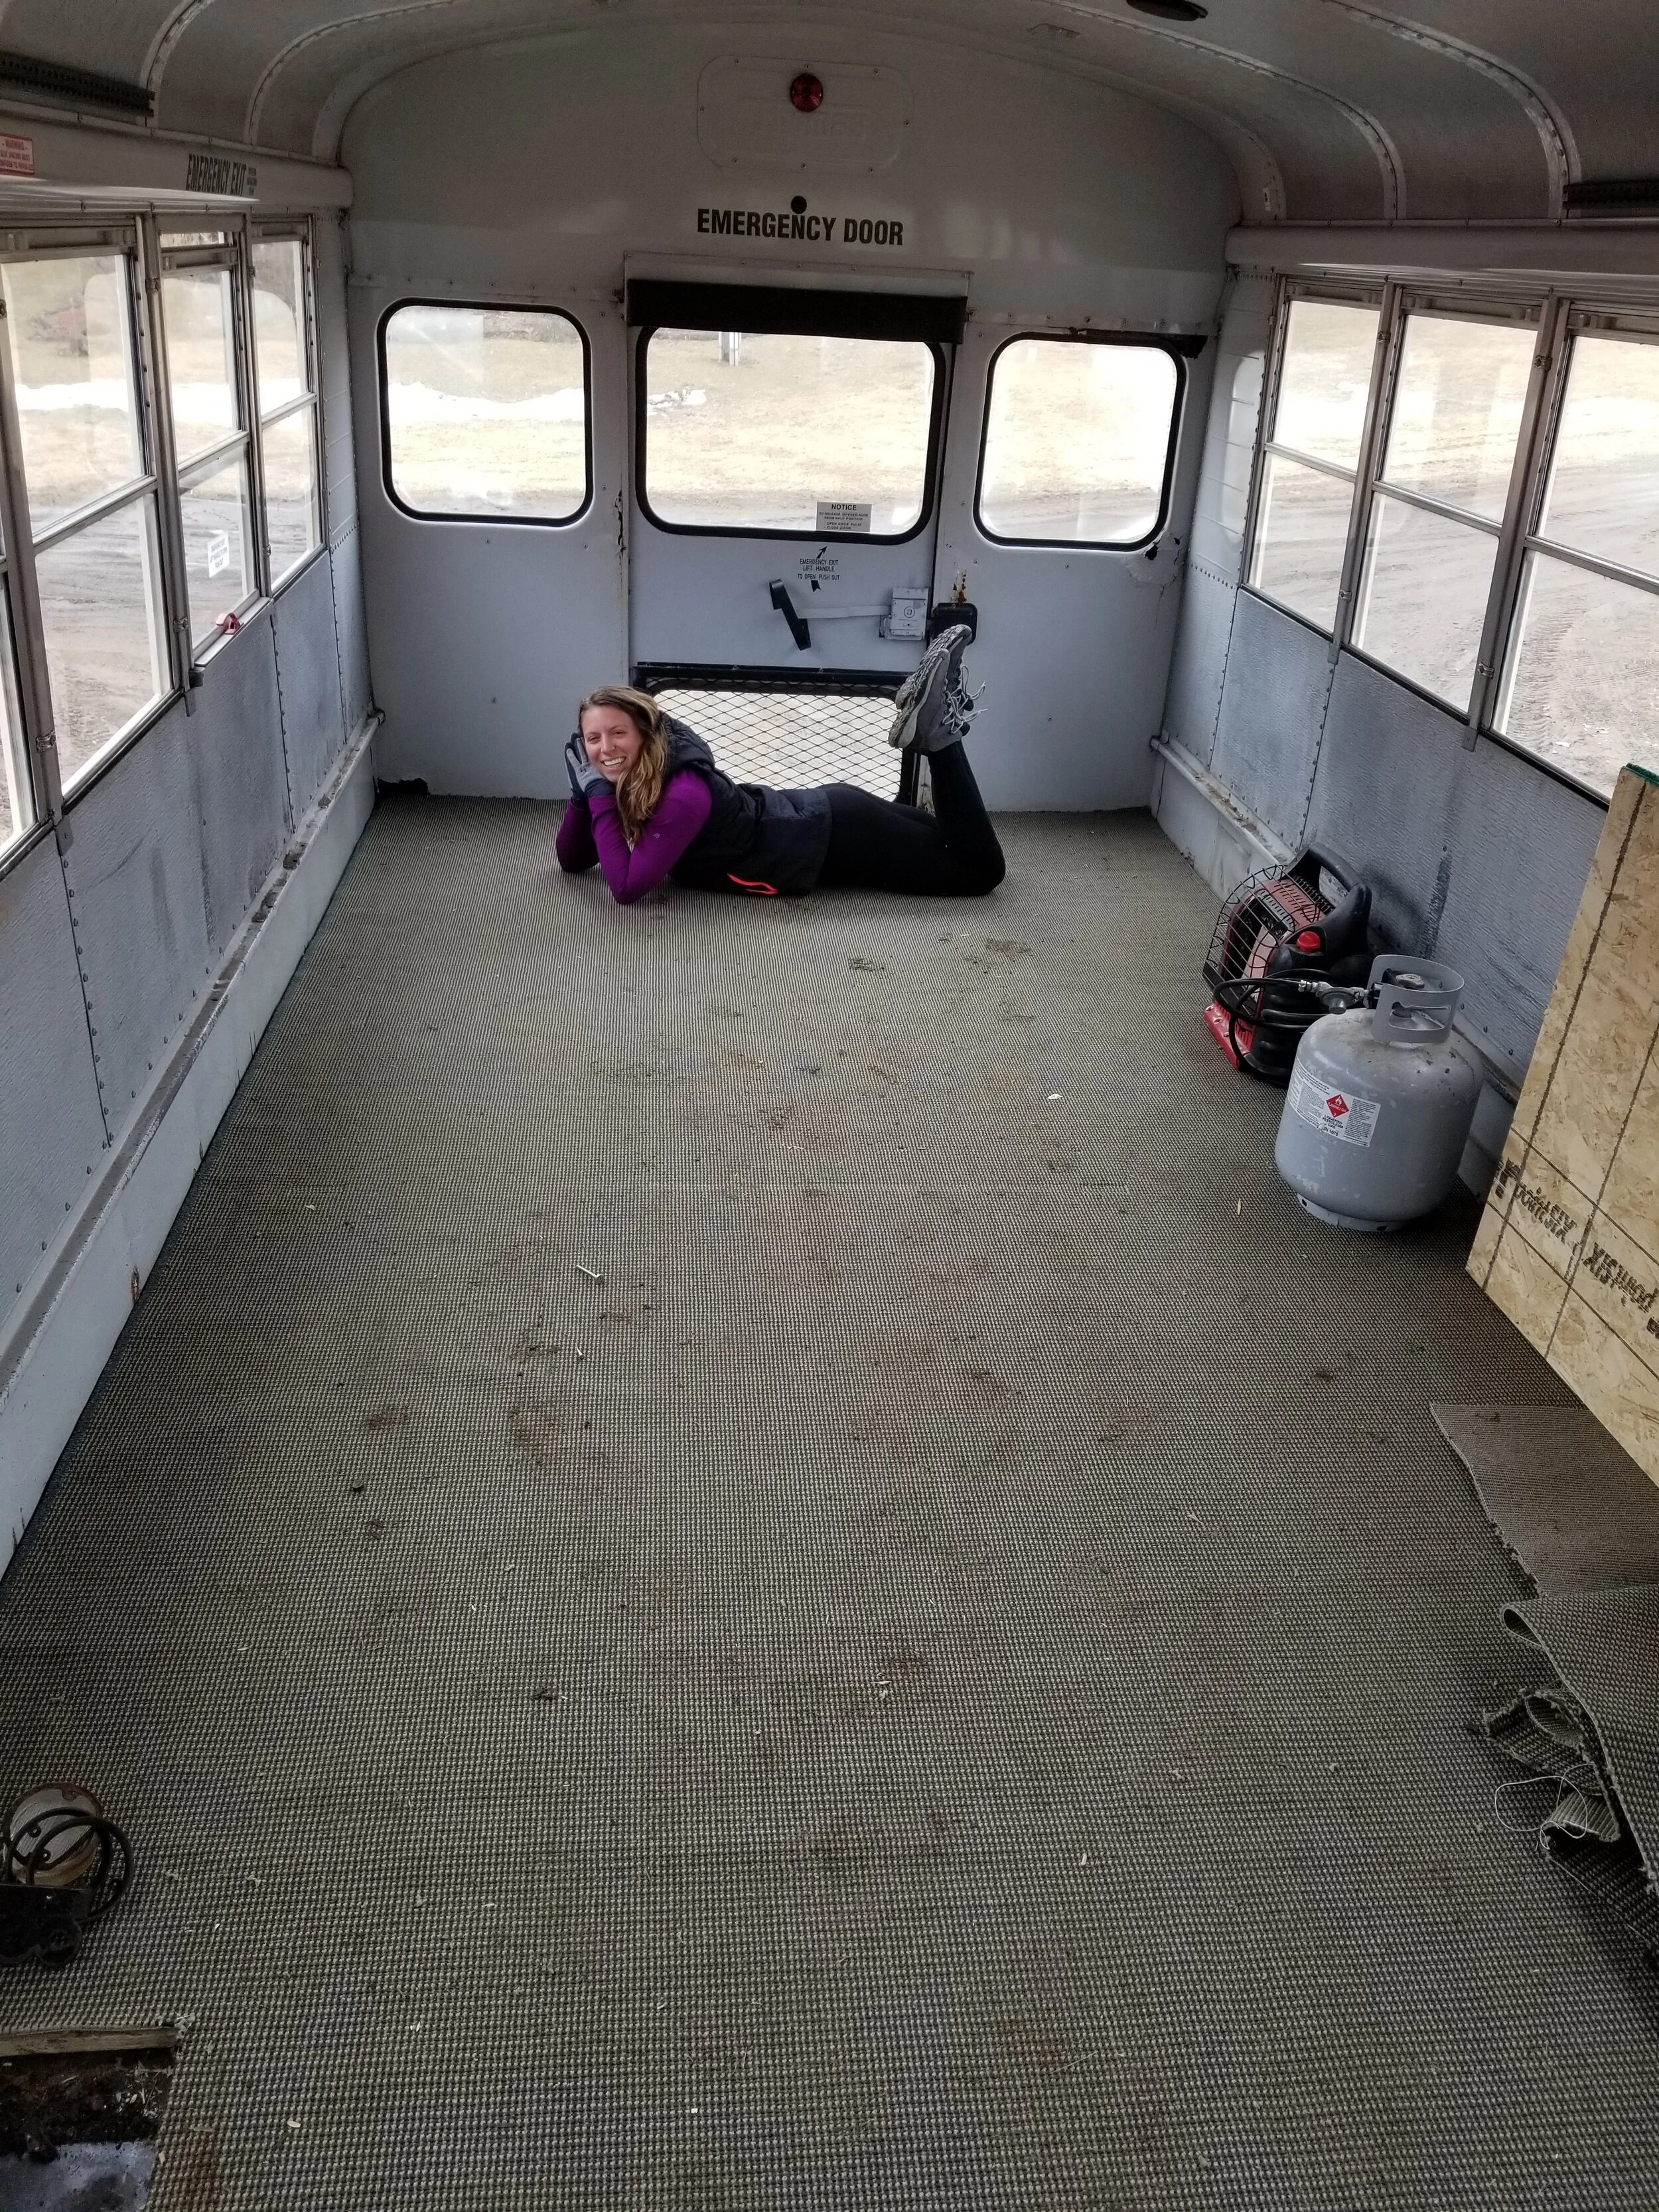
As most people in this world, I've always dreamed of having a Chip&Joanna moment where Chip looks at the camera and says "YOU KNOW WHAT DAY IT IS!?!" and starts karate-kicking through walls and swinging his hammer like a bada$$ B.O.S.S. Even though it wasn't quite asssss dramatic as Fixer Upper, as I held a drill in my hand with a tape measure hanging from my legging's waste band, the barbarian sense of DEMO satisfaction came over me. We were ready to tear shi* UP! & the tearing up began...We've now put in apprx. 3 full demo days, and I finally feel we are oh so close to getting down to the BONES of our babe. We have a few pieces left up front around the driver's seat / stairwell, but the heart of the bus is pretty skinnied. We finally kind of know what we are workin' with - YAY!
Weekend 1 was figuring out what the heck we were dealing with.
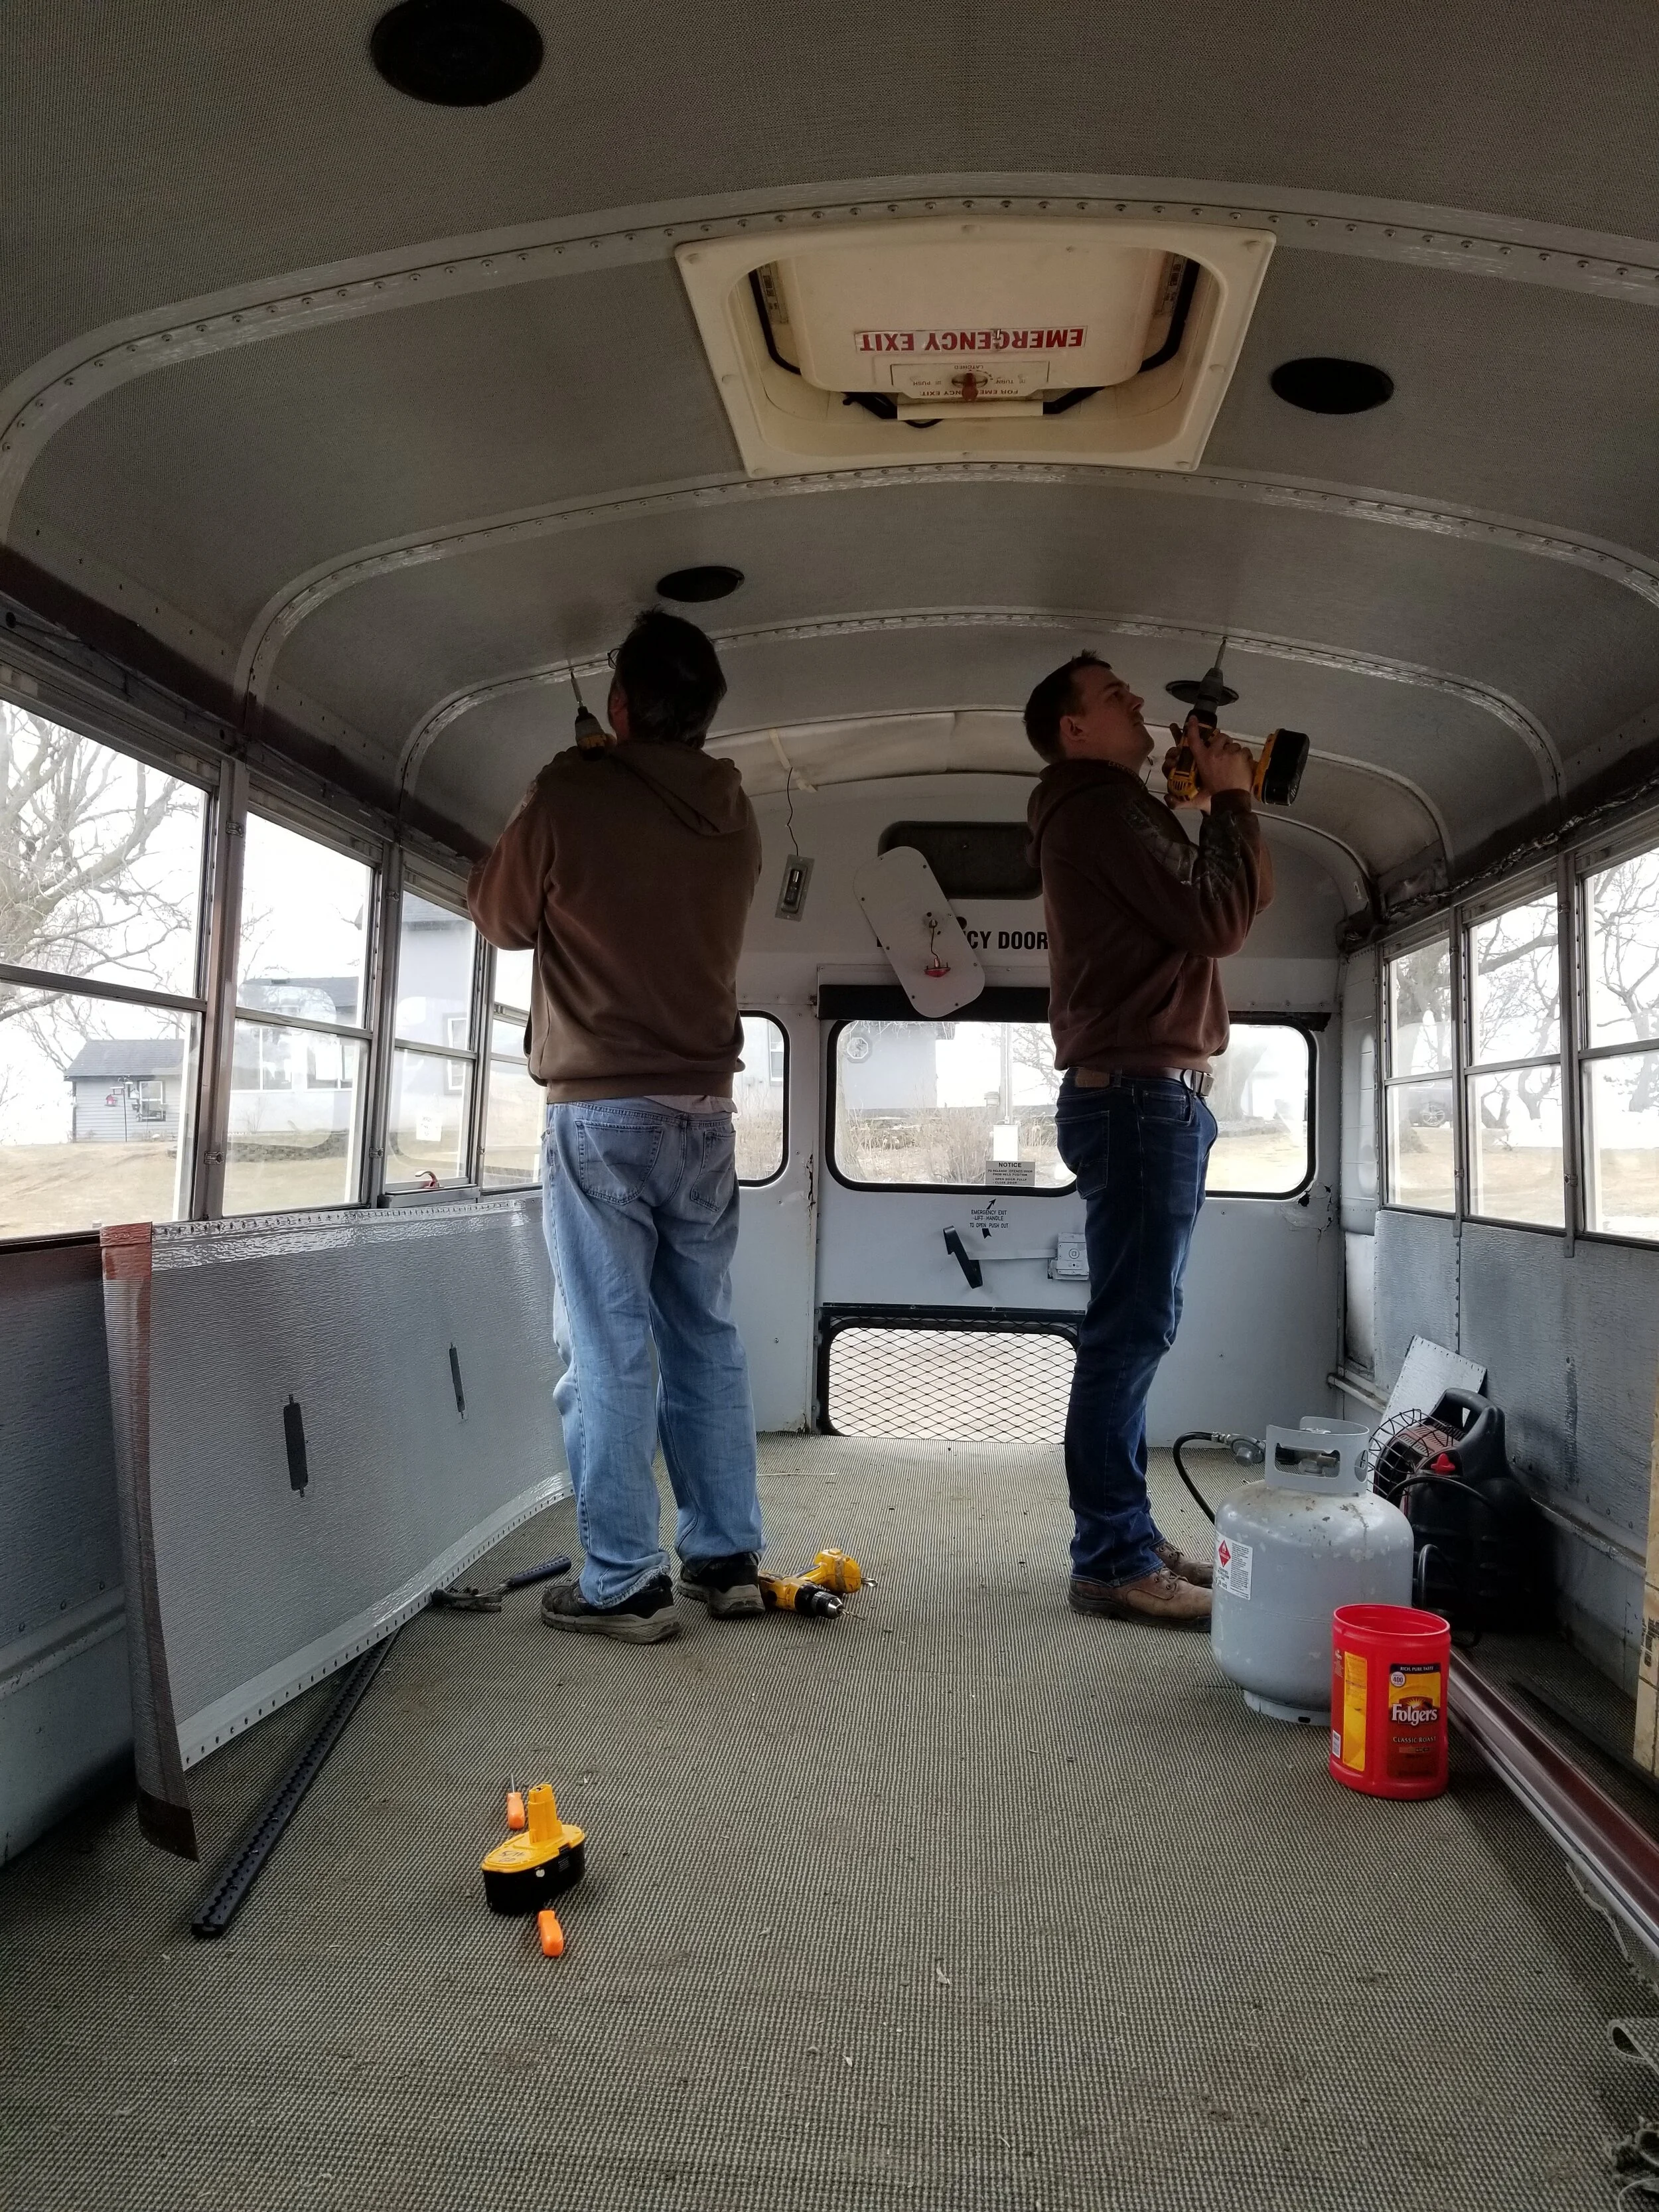
We pulled out all ceiling panels which was a GREAT arm workout, I will say. We also removed the electrical tunnels and other misc pieces around the side-walls. We started to take the aluminum side panels off, only to find they are secured under the windowsills, so we have not yet made an executive decision about if we are just going to work over them or rip back that layer too. Jake boy and Papa Jake boy got to work in a powerful father-son duo <3 When I drill, you drill, just like that - LUDA! We finished the weekend with all ceiling panels out, started tearing out all of the excess electrical stuff, and mostly just assessing our next game plan. (eh DJ, bring that backkkk)
Weekend 2 was floor weekend - we debated a few different strategies & decided to just DO IT & put in the work & figure out exactly what we're working with here. The other option was to just pull up the carpet and sub-floor and leave the actual exposed bus floor that the kiddos are used to seeing.
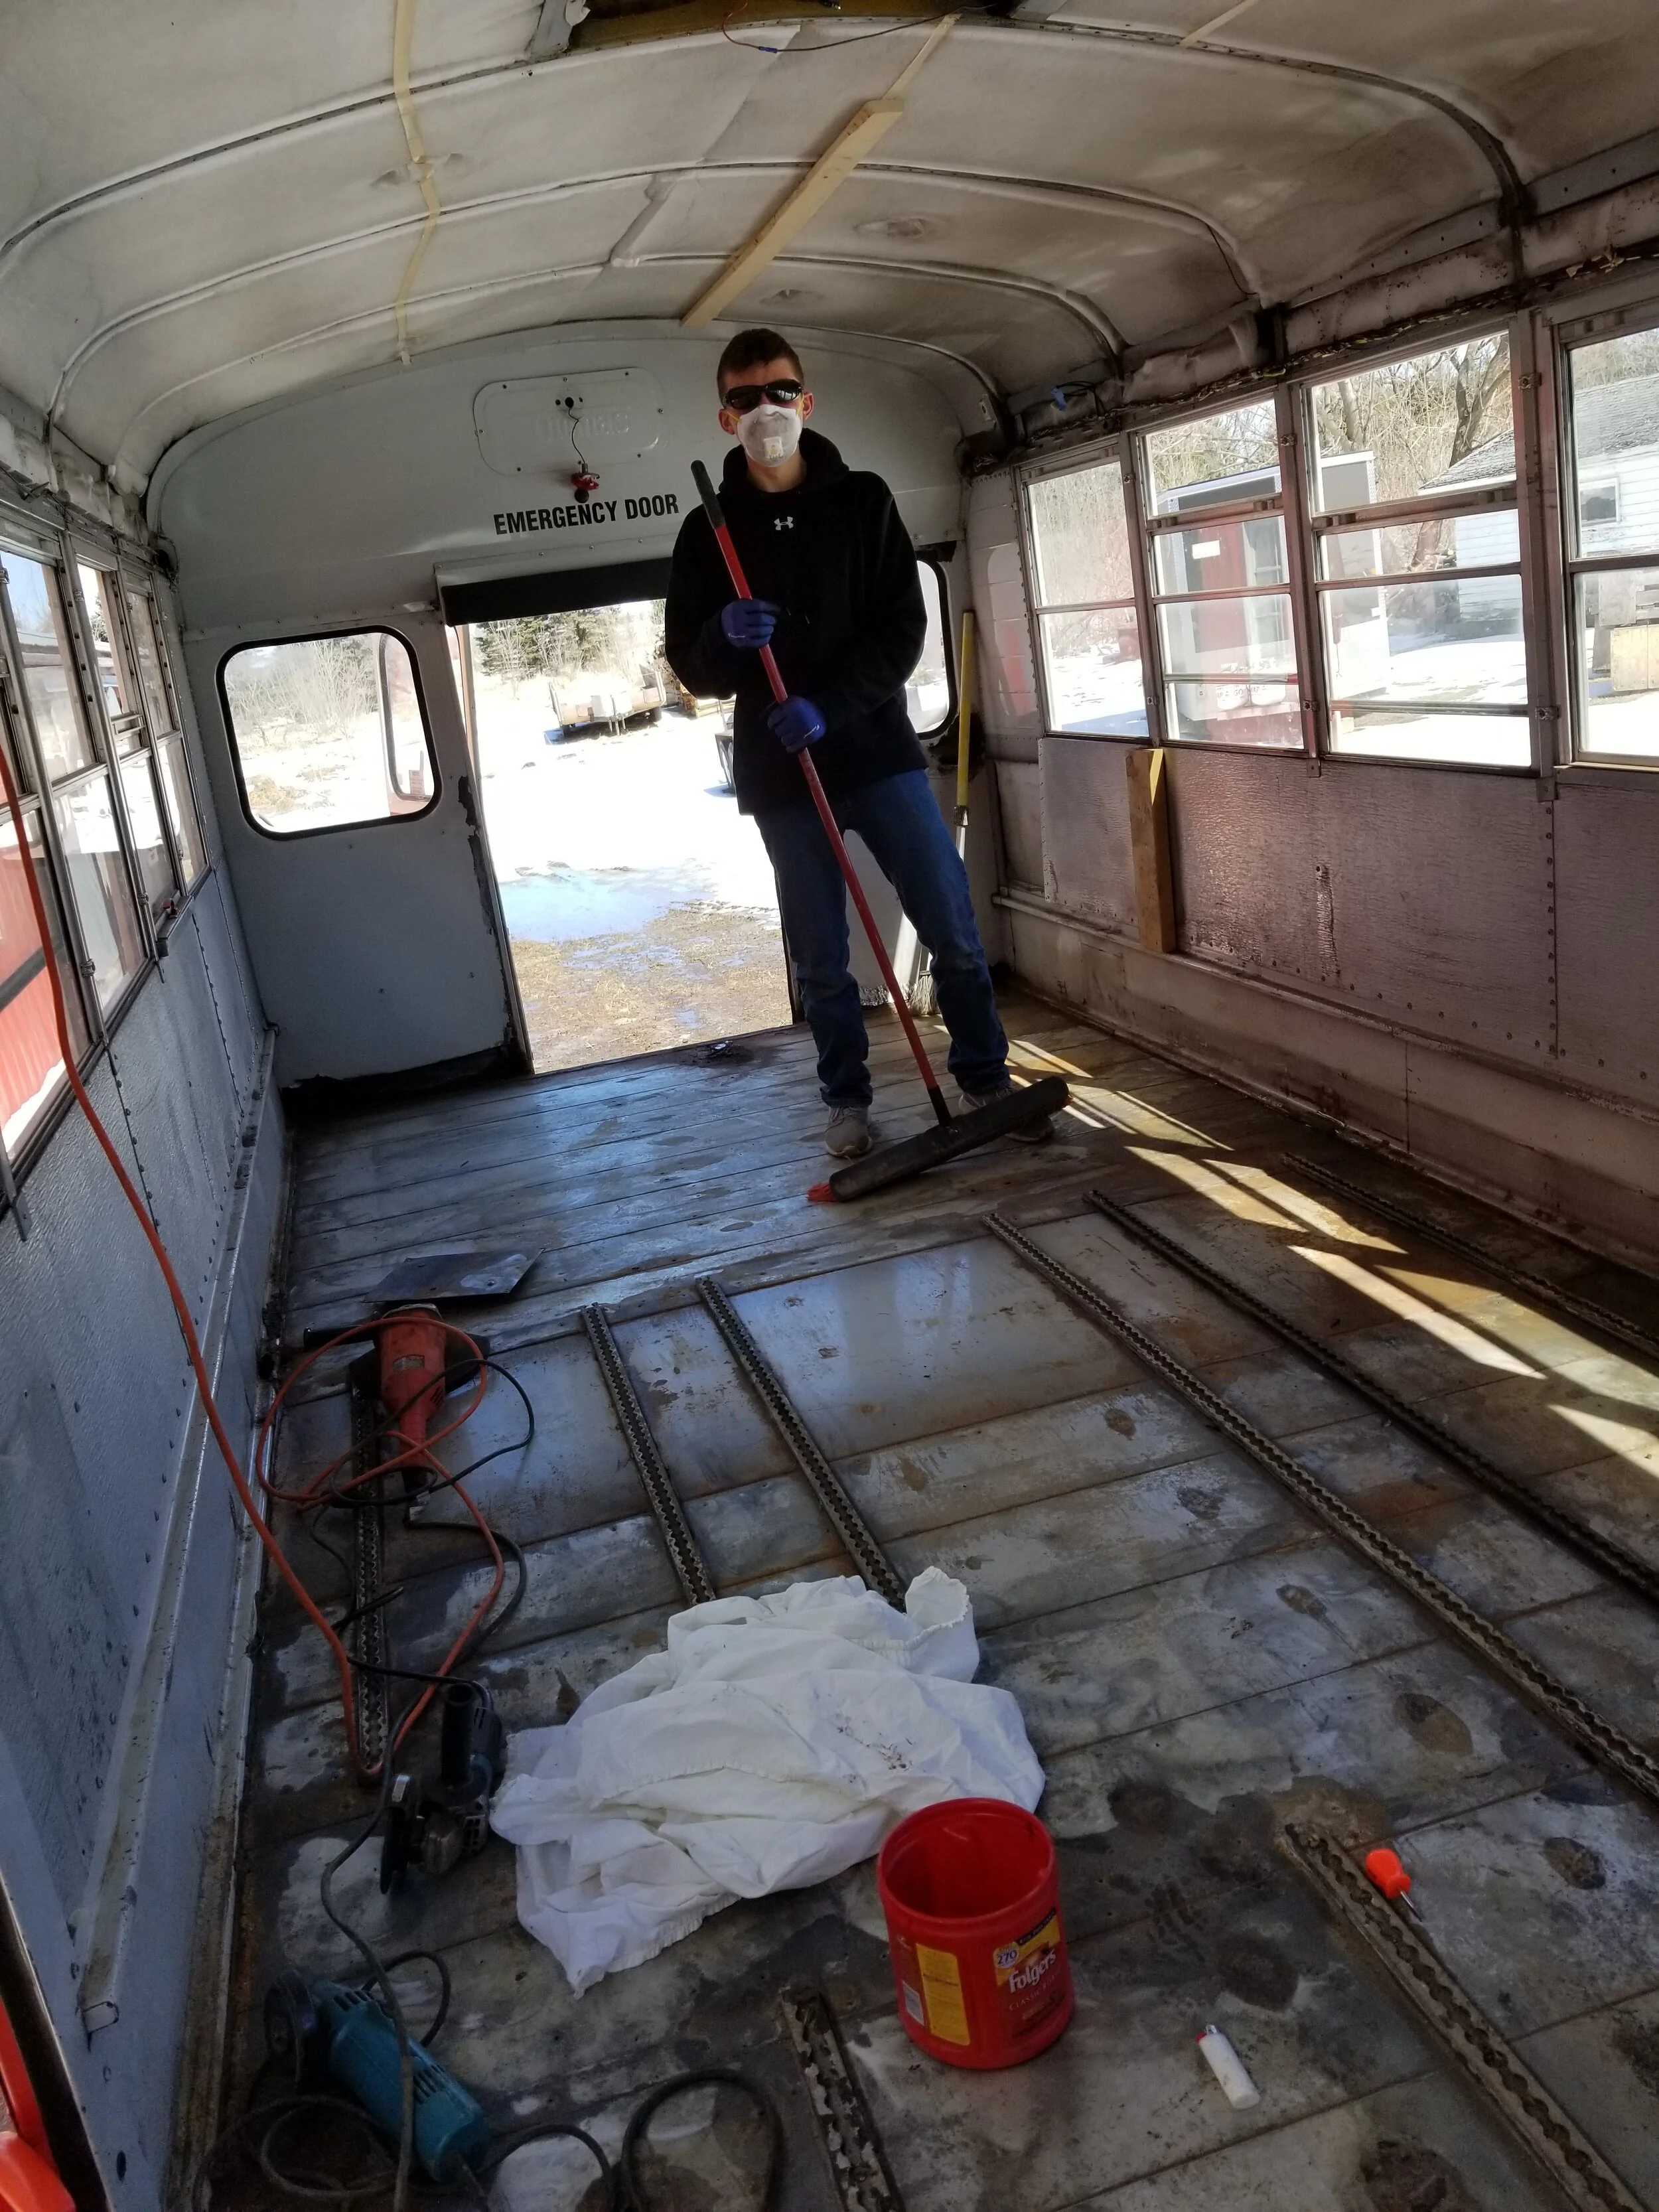
Layers we had to unfold and pry with our fingertips, literally -
Carpet - when we bought the bus, the guy had put in a layer of carpet. No biggie, super simple just roll up. What we found under the carpet…
Sub-floor 3/4" plywood - we knew the guy before us put in a sub-floor, so this was as expected. Also pretty simple to take out, mostly because it was installed within the last 8 months. Under the sub-floor…
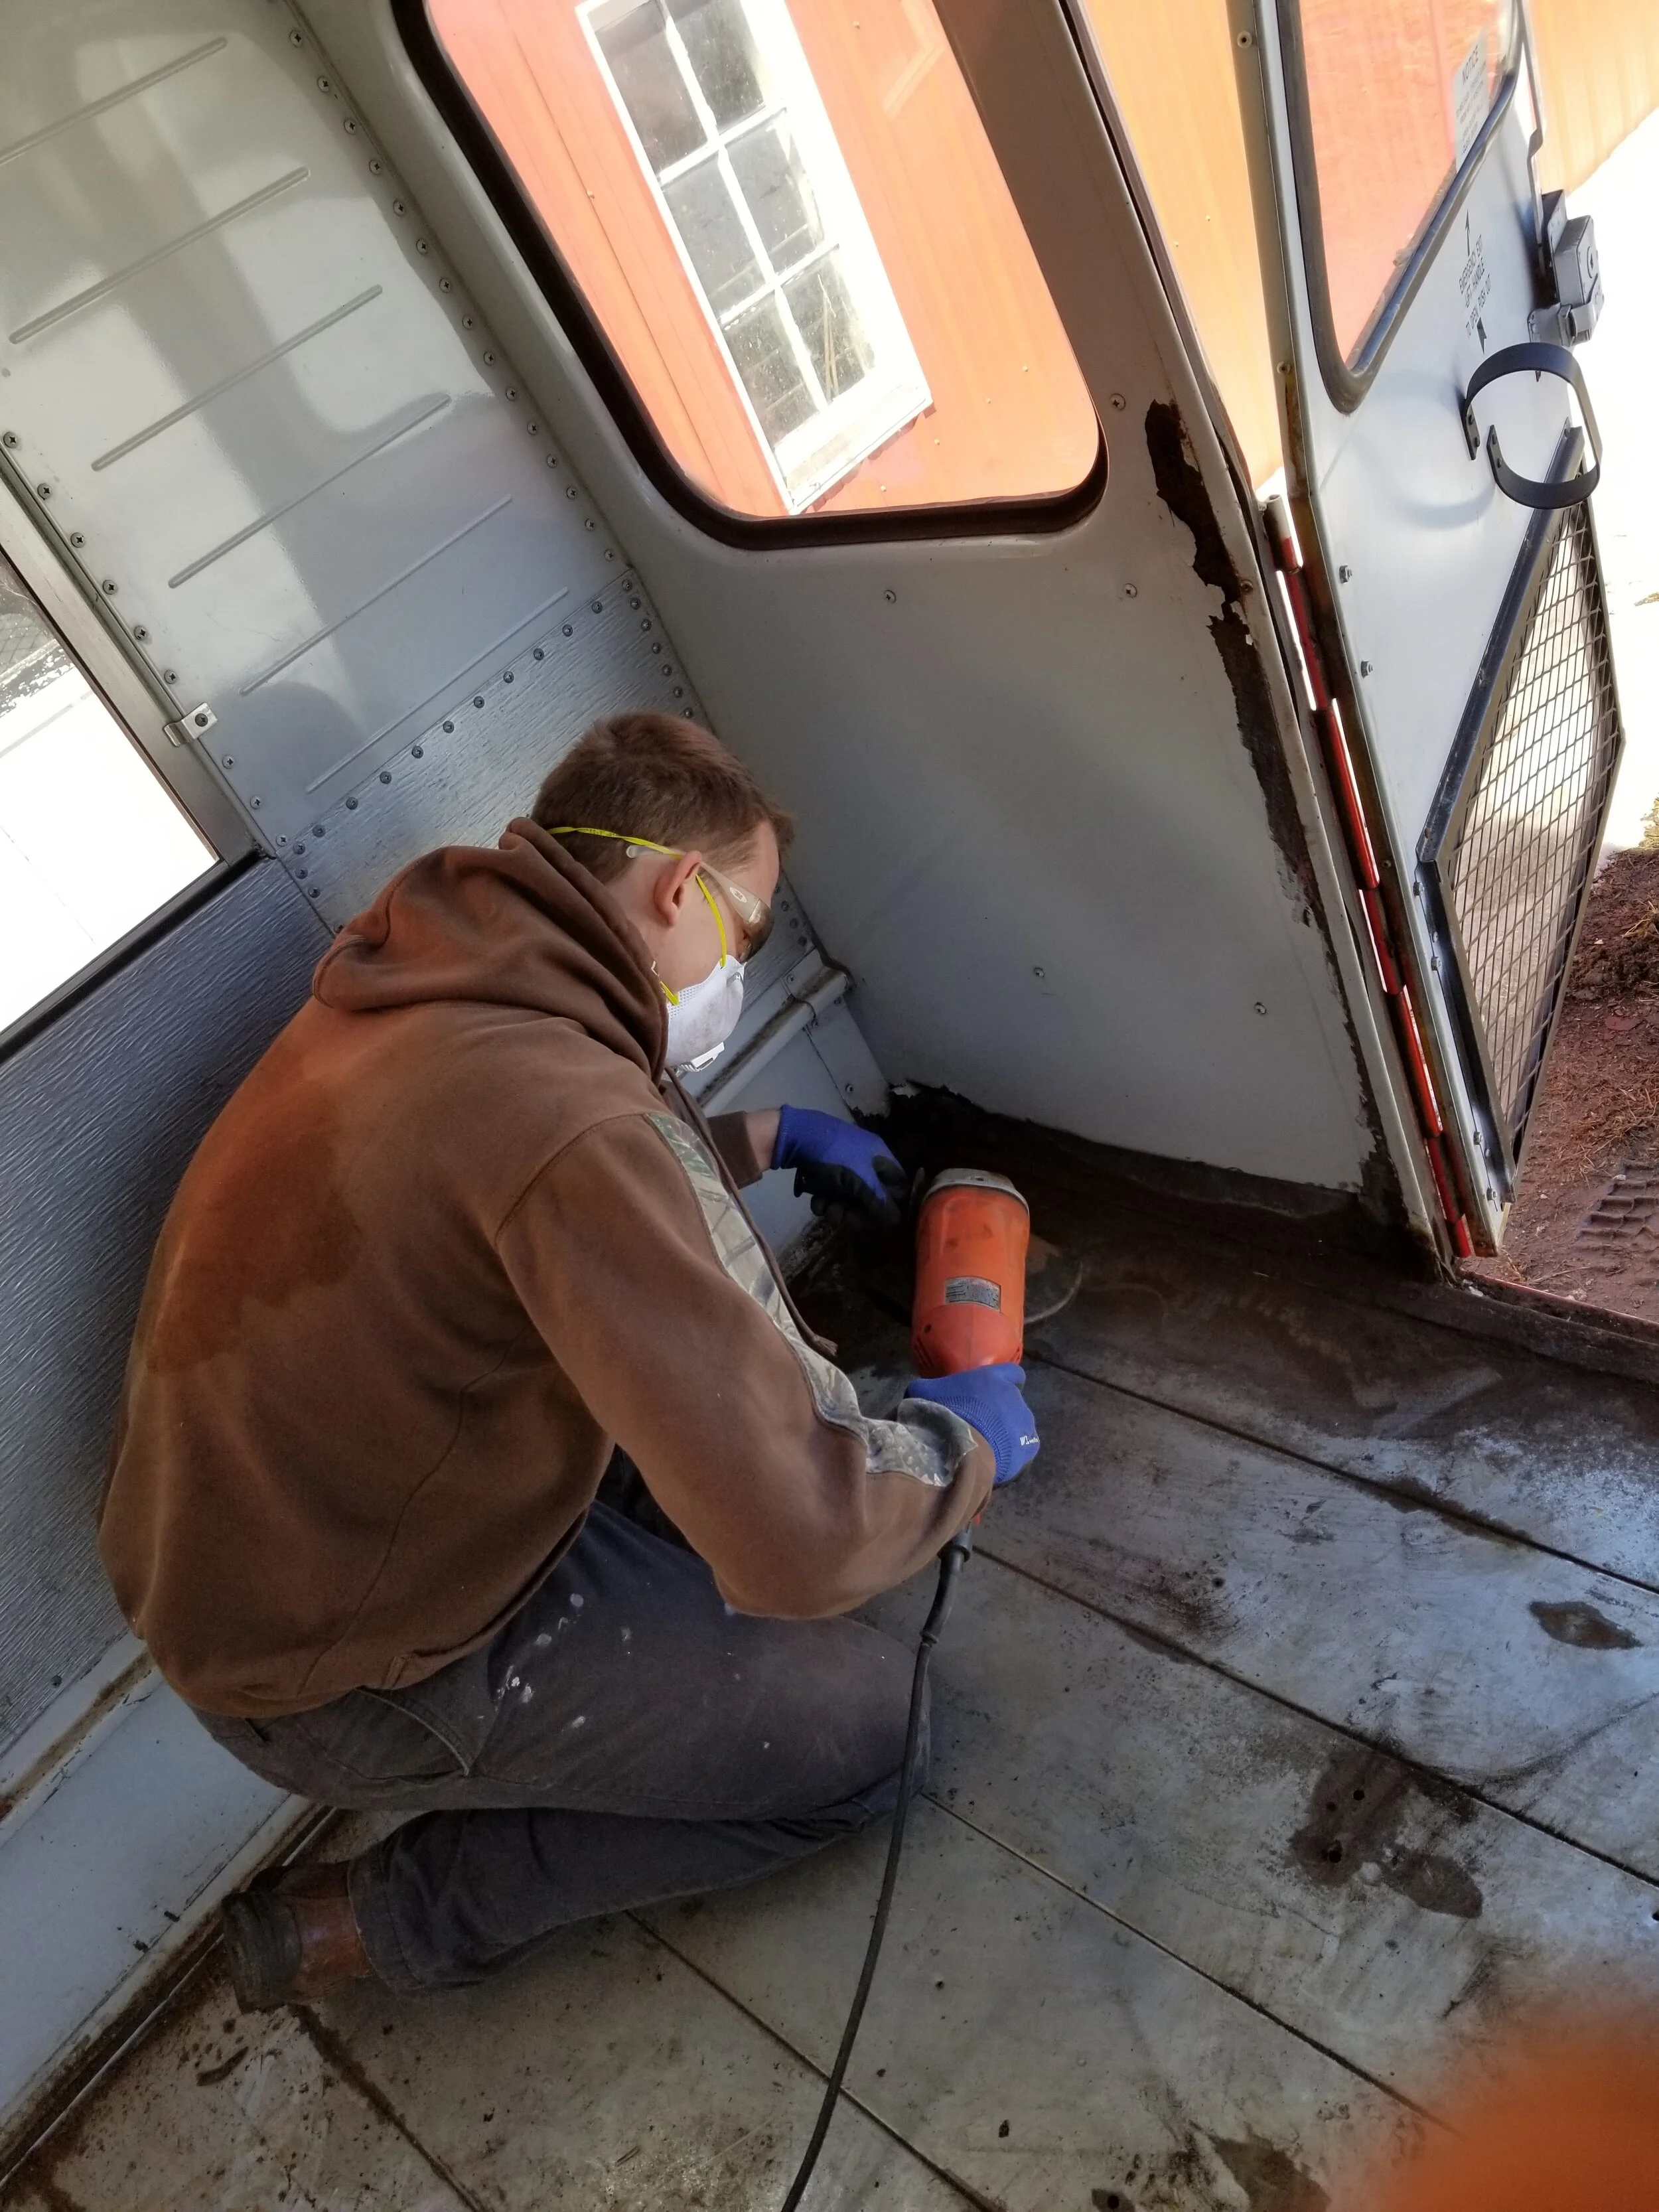
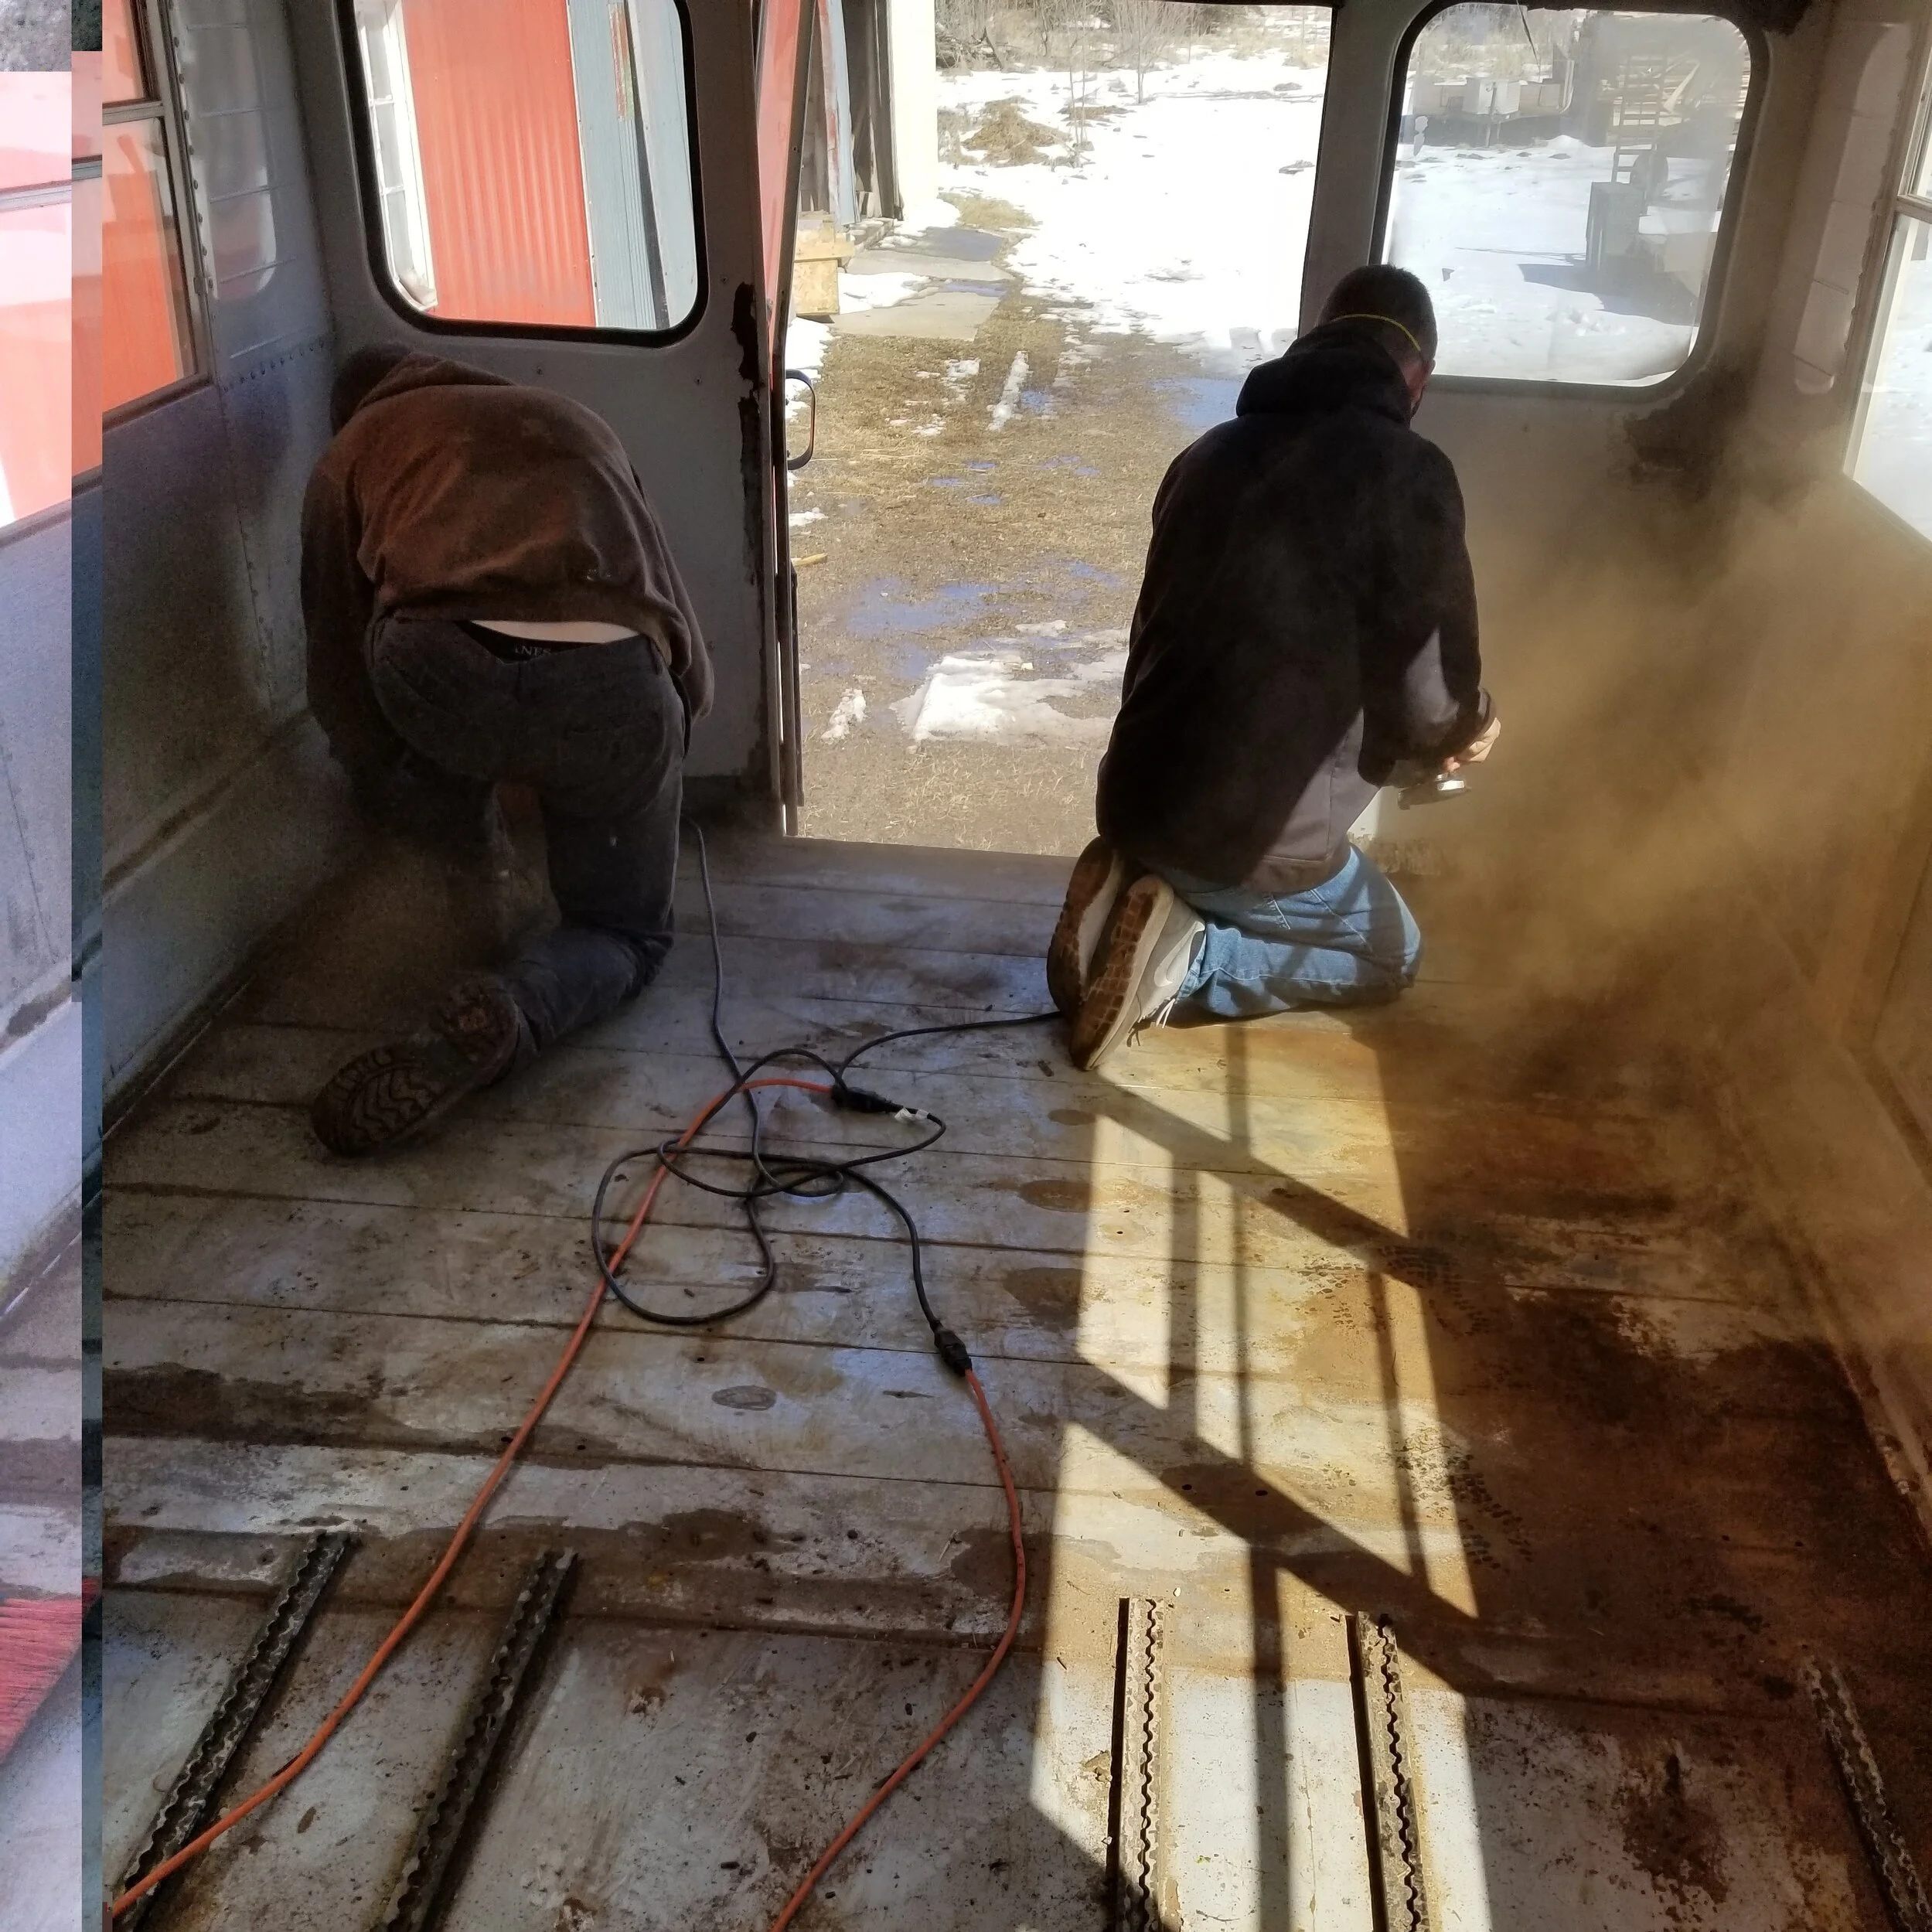
Rubber mat…this was the actual school bus floor where little toes stomped on for years. Hundreds of screws were holding the rubber and whatever is under the rubber in place. These were nearly ALL rusted out…actually not a single one came out with the drill (so 100% rusted out), so off to drilling off each screw head and grinding out the others! The rubber was glued down, but when pulled back…
MORE Plywood - aside from all of the screws going through the rubber and plywood, the plywood also had its own individual nails holding each board to whatever was below the board…ugh, when the screws were all ground out and the nails were pried out, we found…
The bottom layer of steel!!! - some lookin' pretty rusty, other parts lookin' pretty fresh.

Now that we were staring at the true floor of the bus, we had some work to do. Take care of the rust. We probs spent a good 5 hours grinding the bad rust and wire brushing the good rust away. :D Honestly, it wasn't that bad and looks WAY better than we started. We did come across a few places that were totally rusted through, which will require some searching through Galen’s (Jake’s dad) shops until we stumble upon some steel scraps.
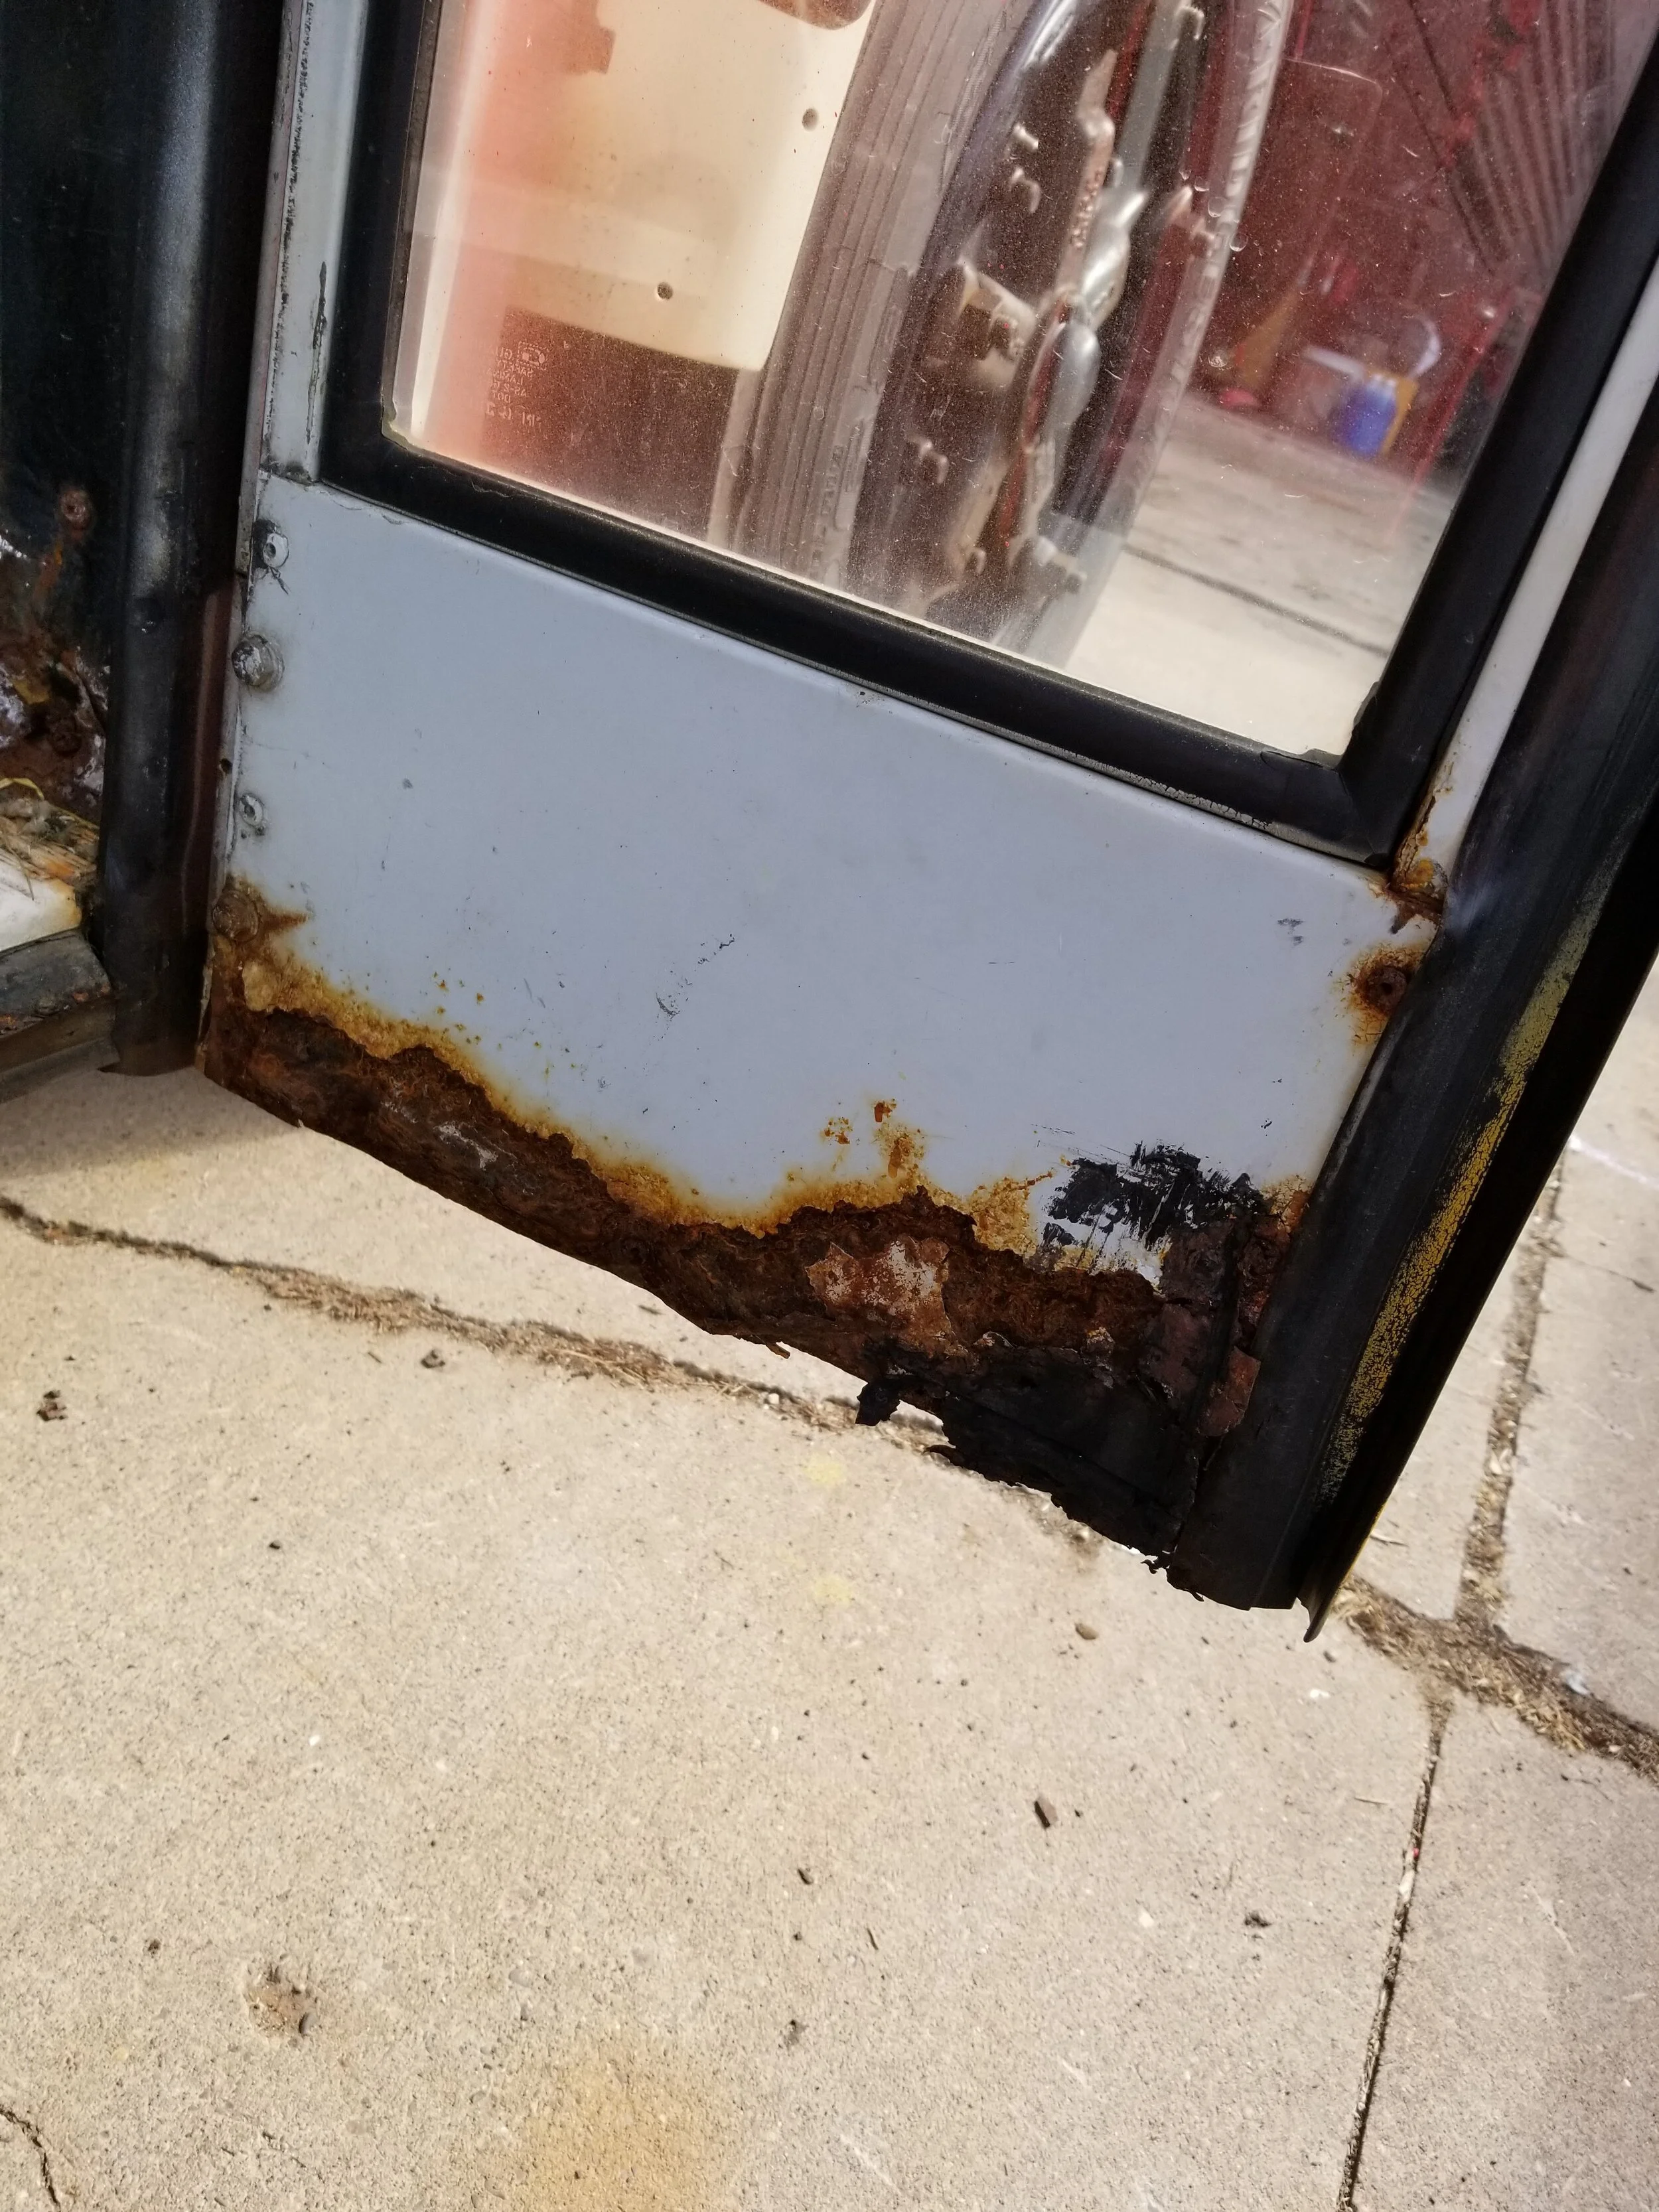
In the vids we've been watching, rust hasn't really seem to be an issue. We are thinking this is a downside of buying a bus that has been in service in good ol' MN for its entire life. Lots of salt, snow, and harsh weather conditions.
It was a transformation #Sunday as you can see below! BUT WE FINALLY FOUND THE BOTTOM.
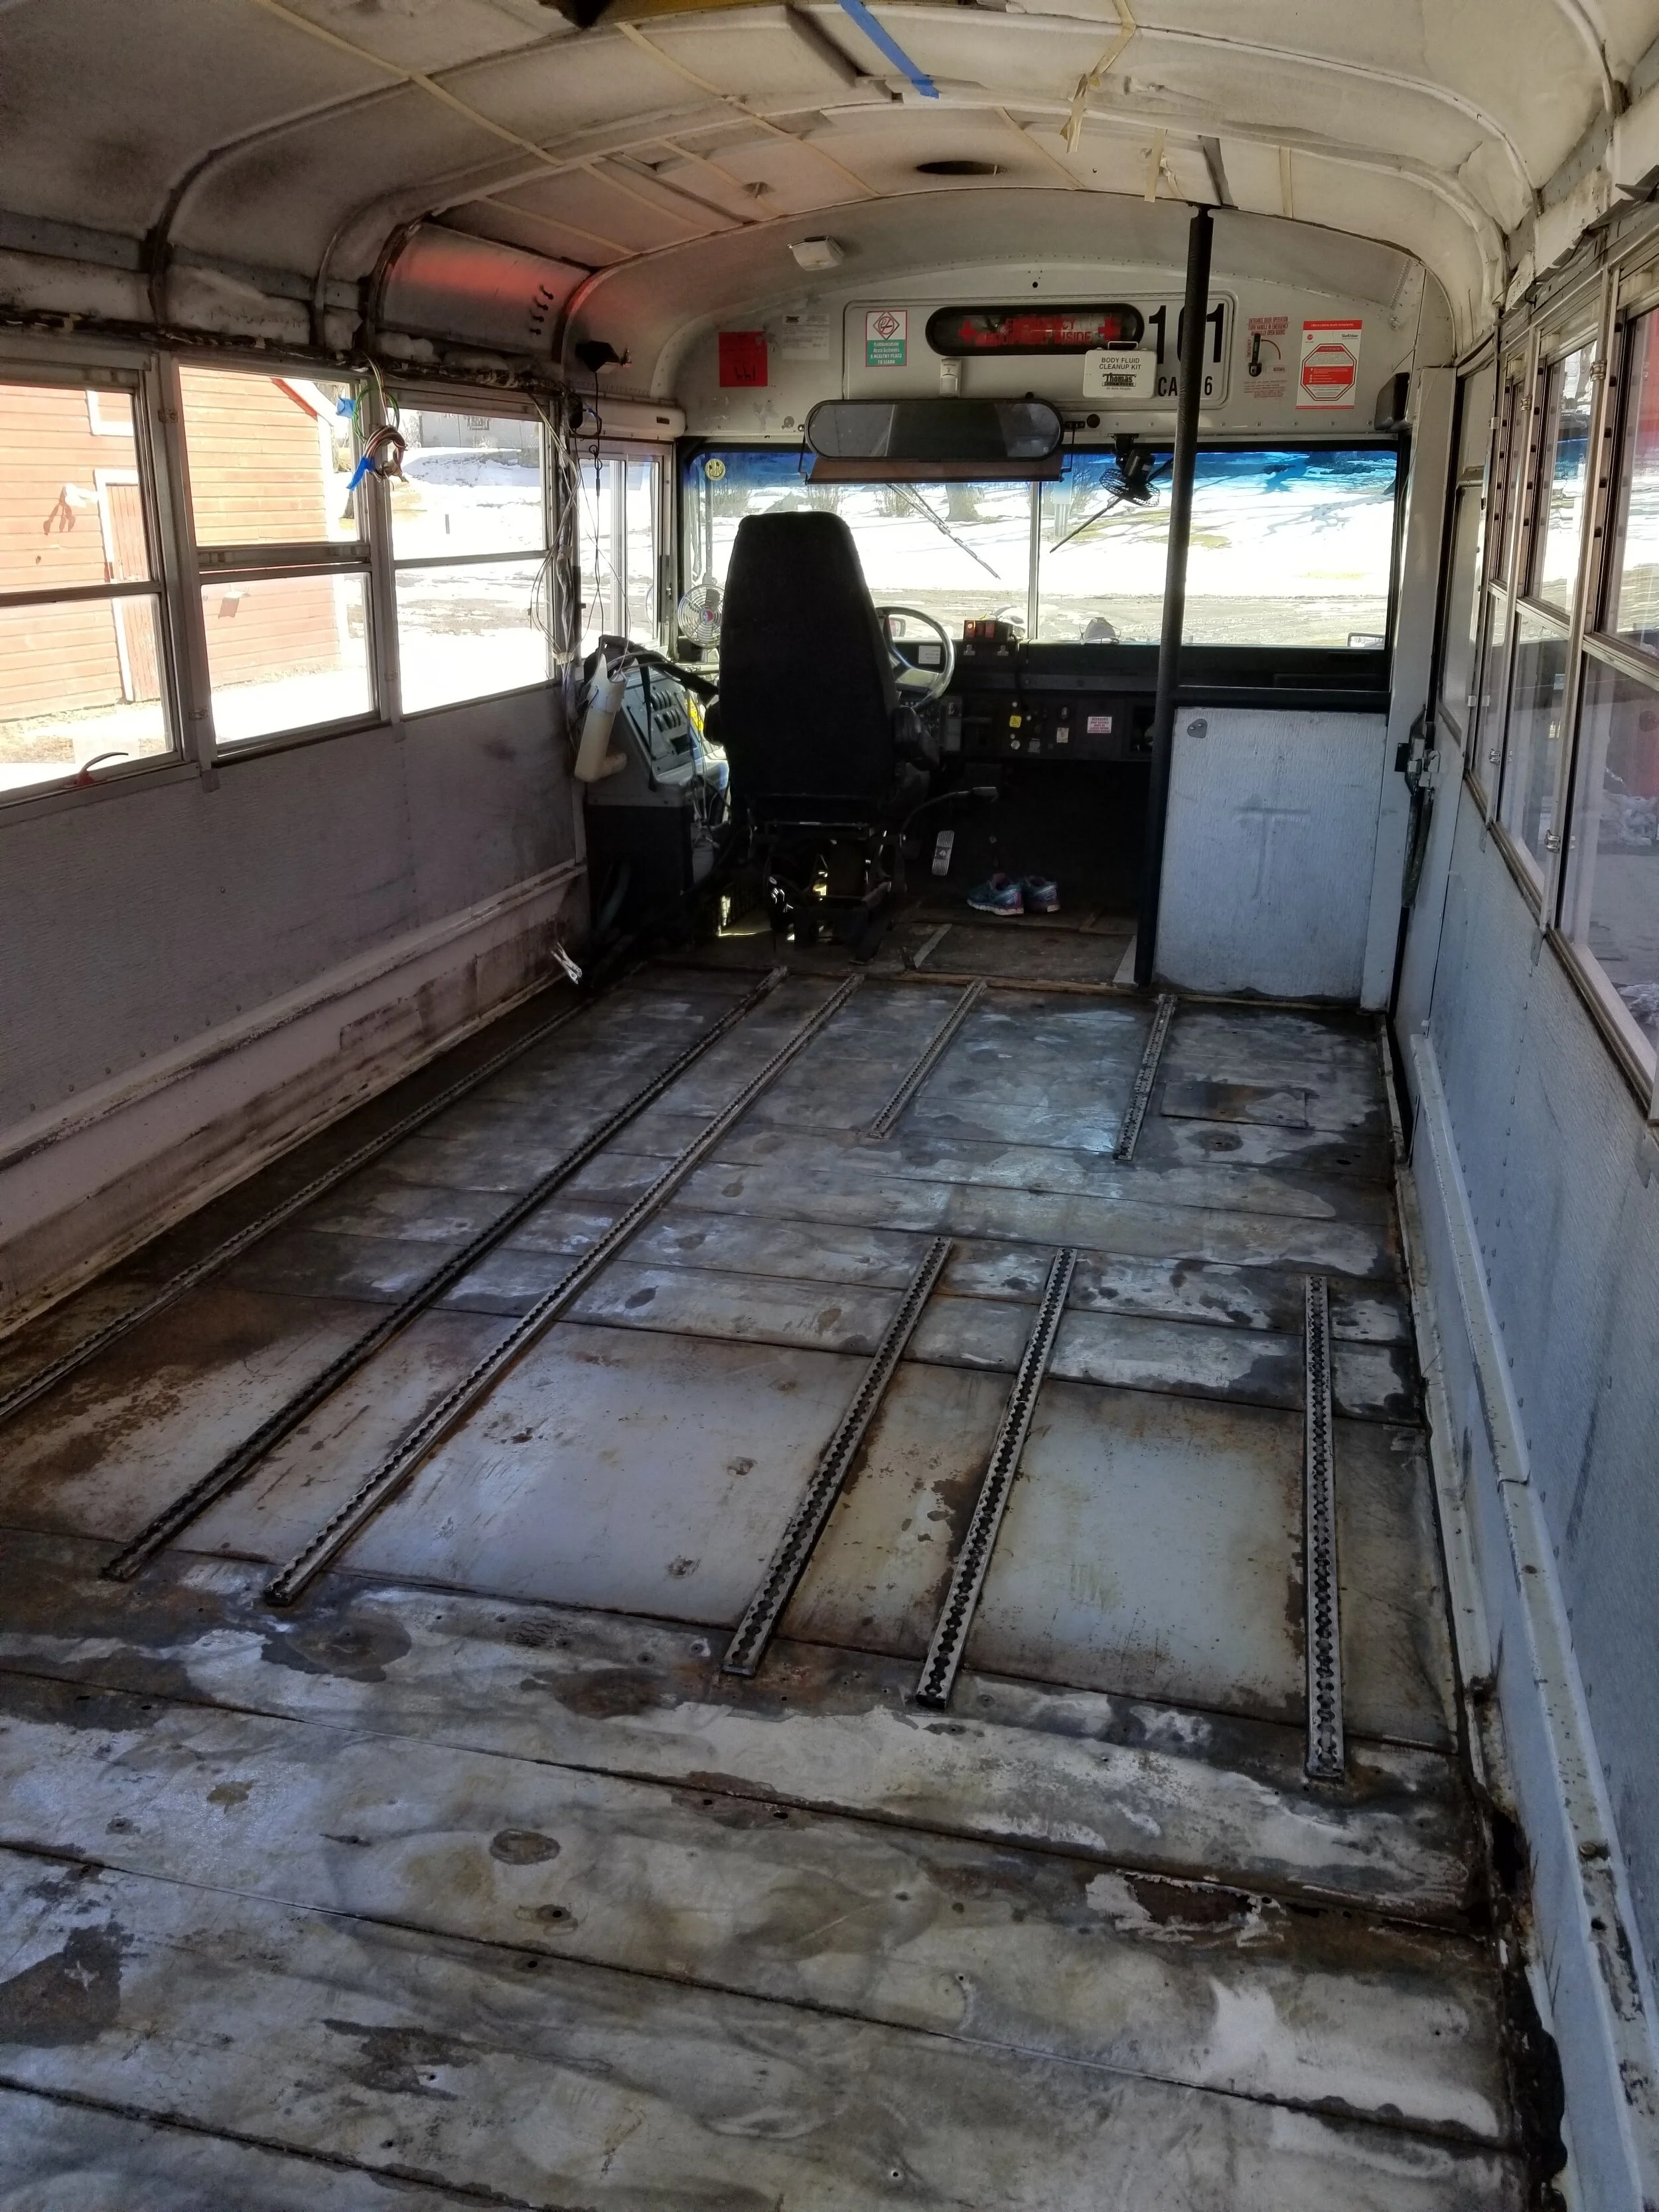
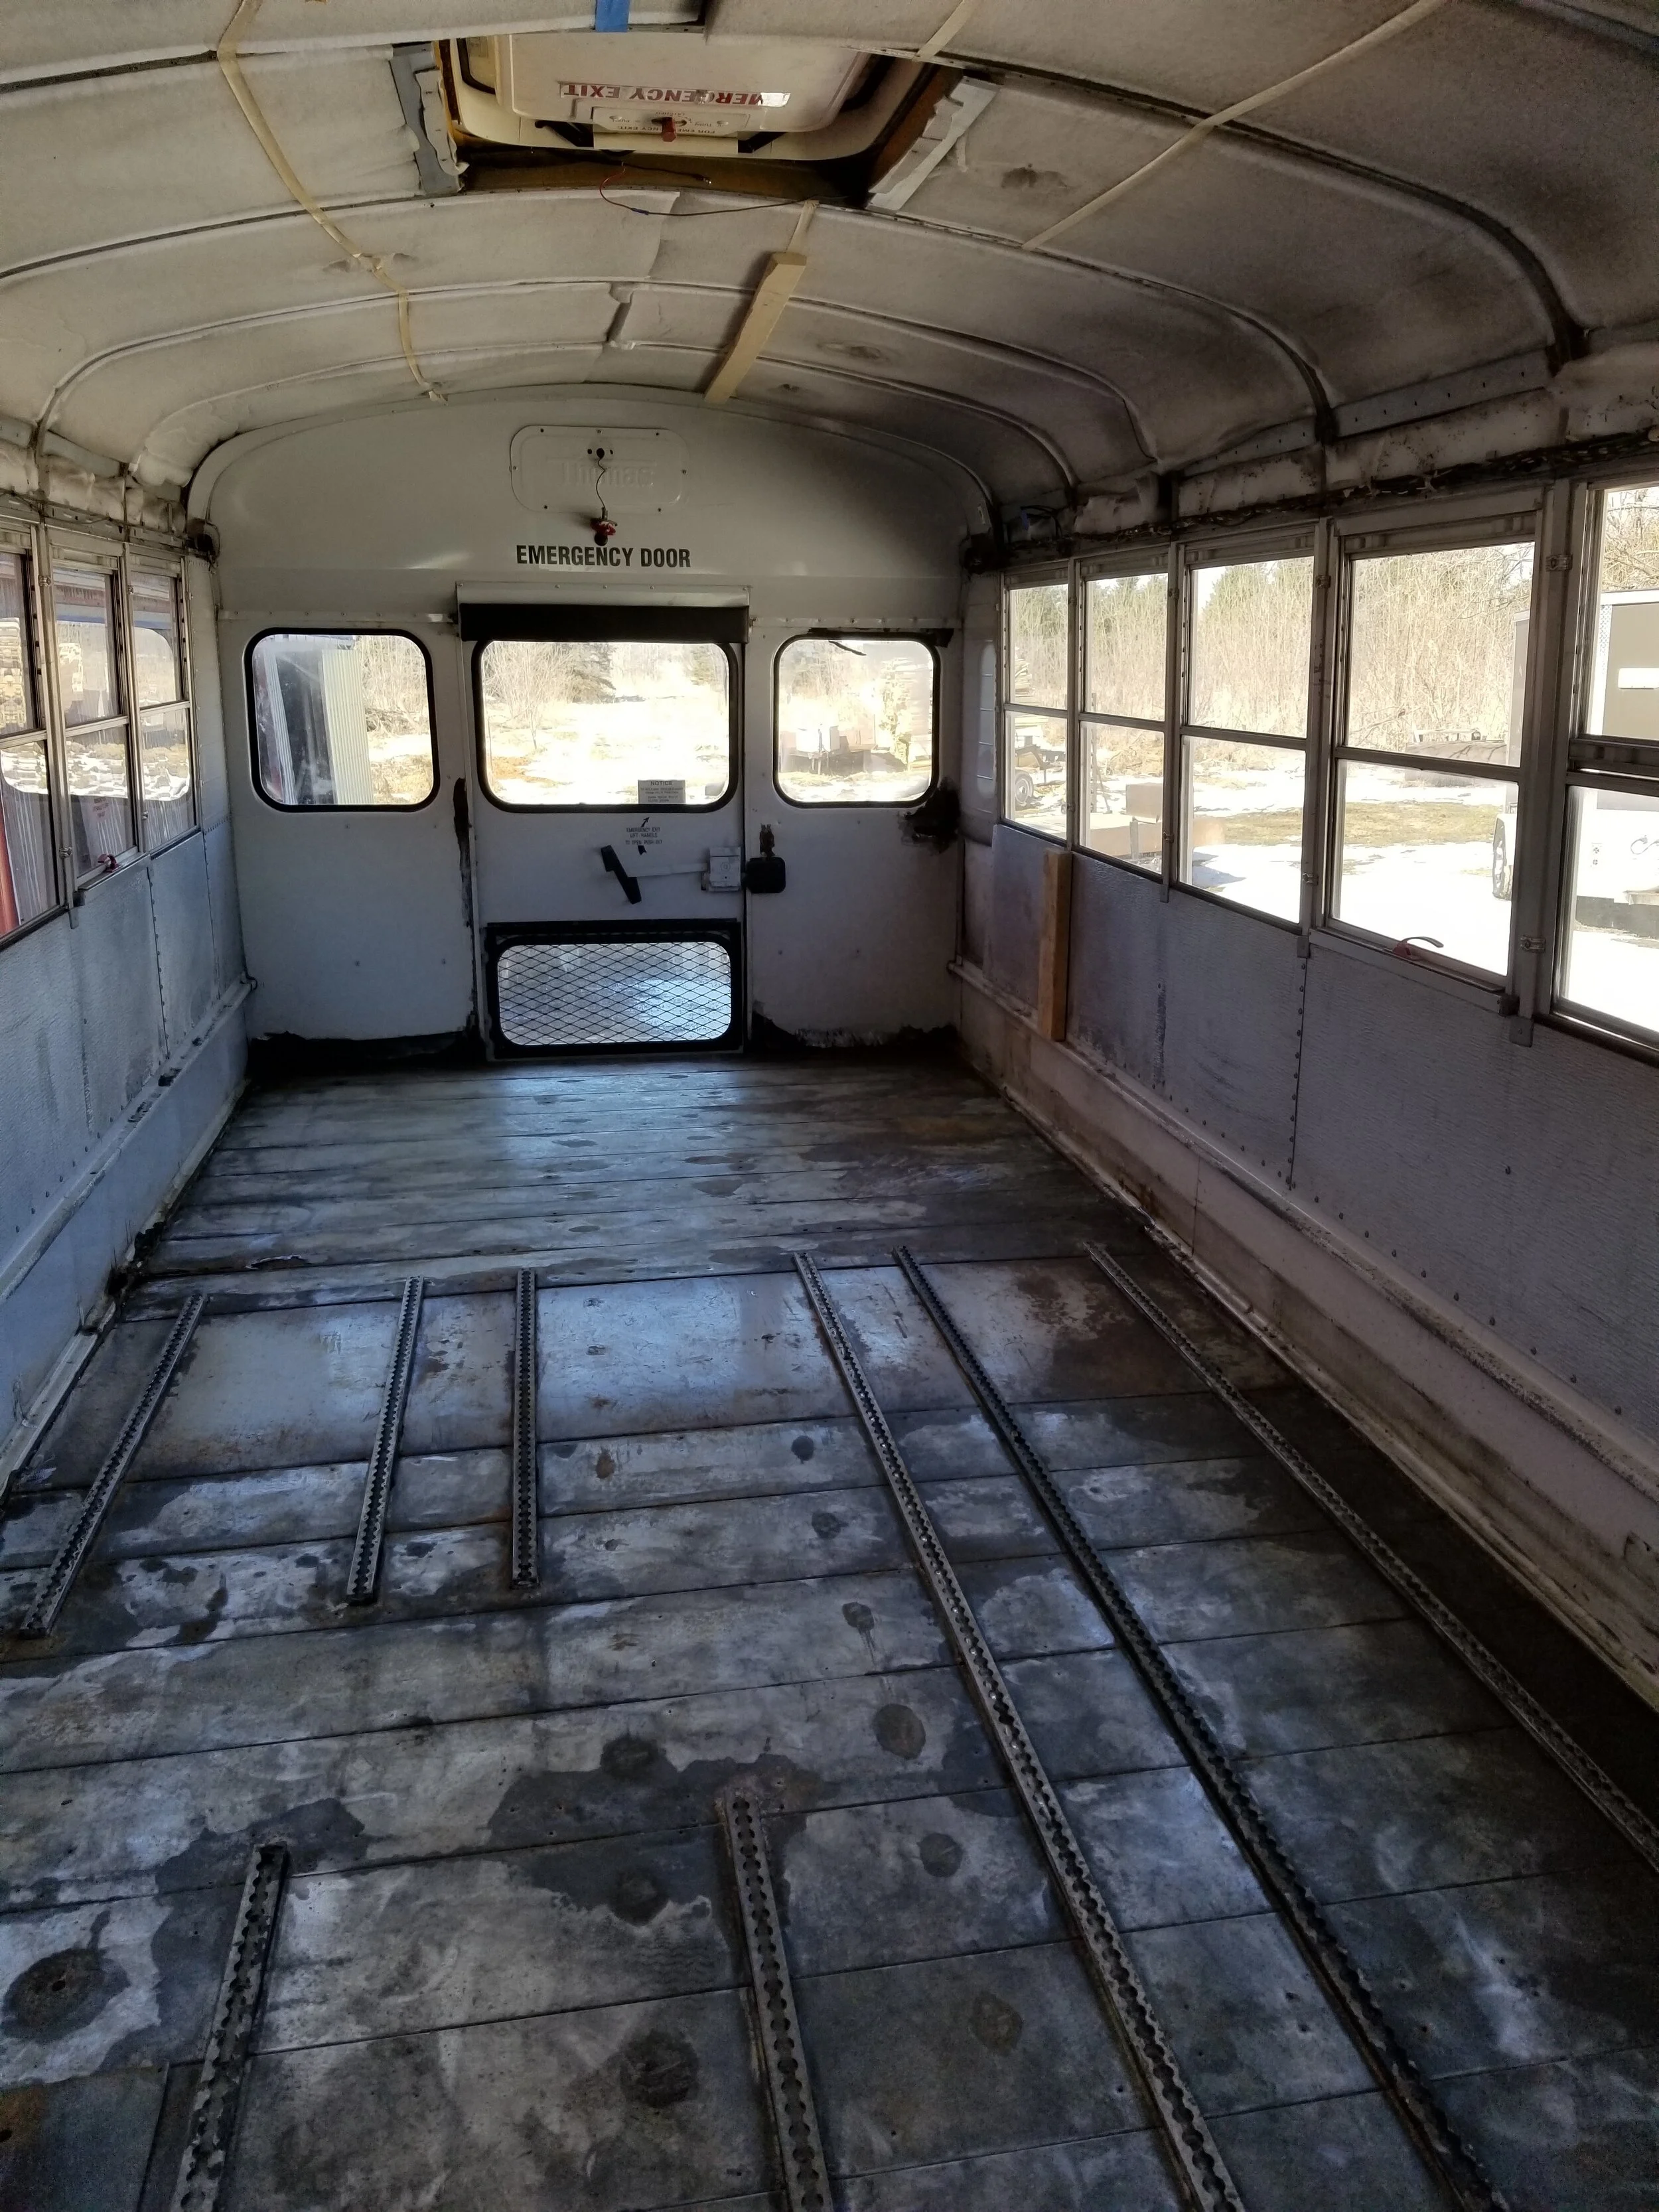
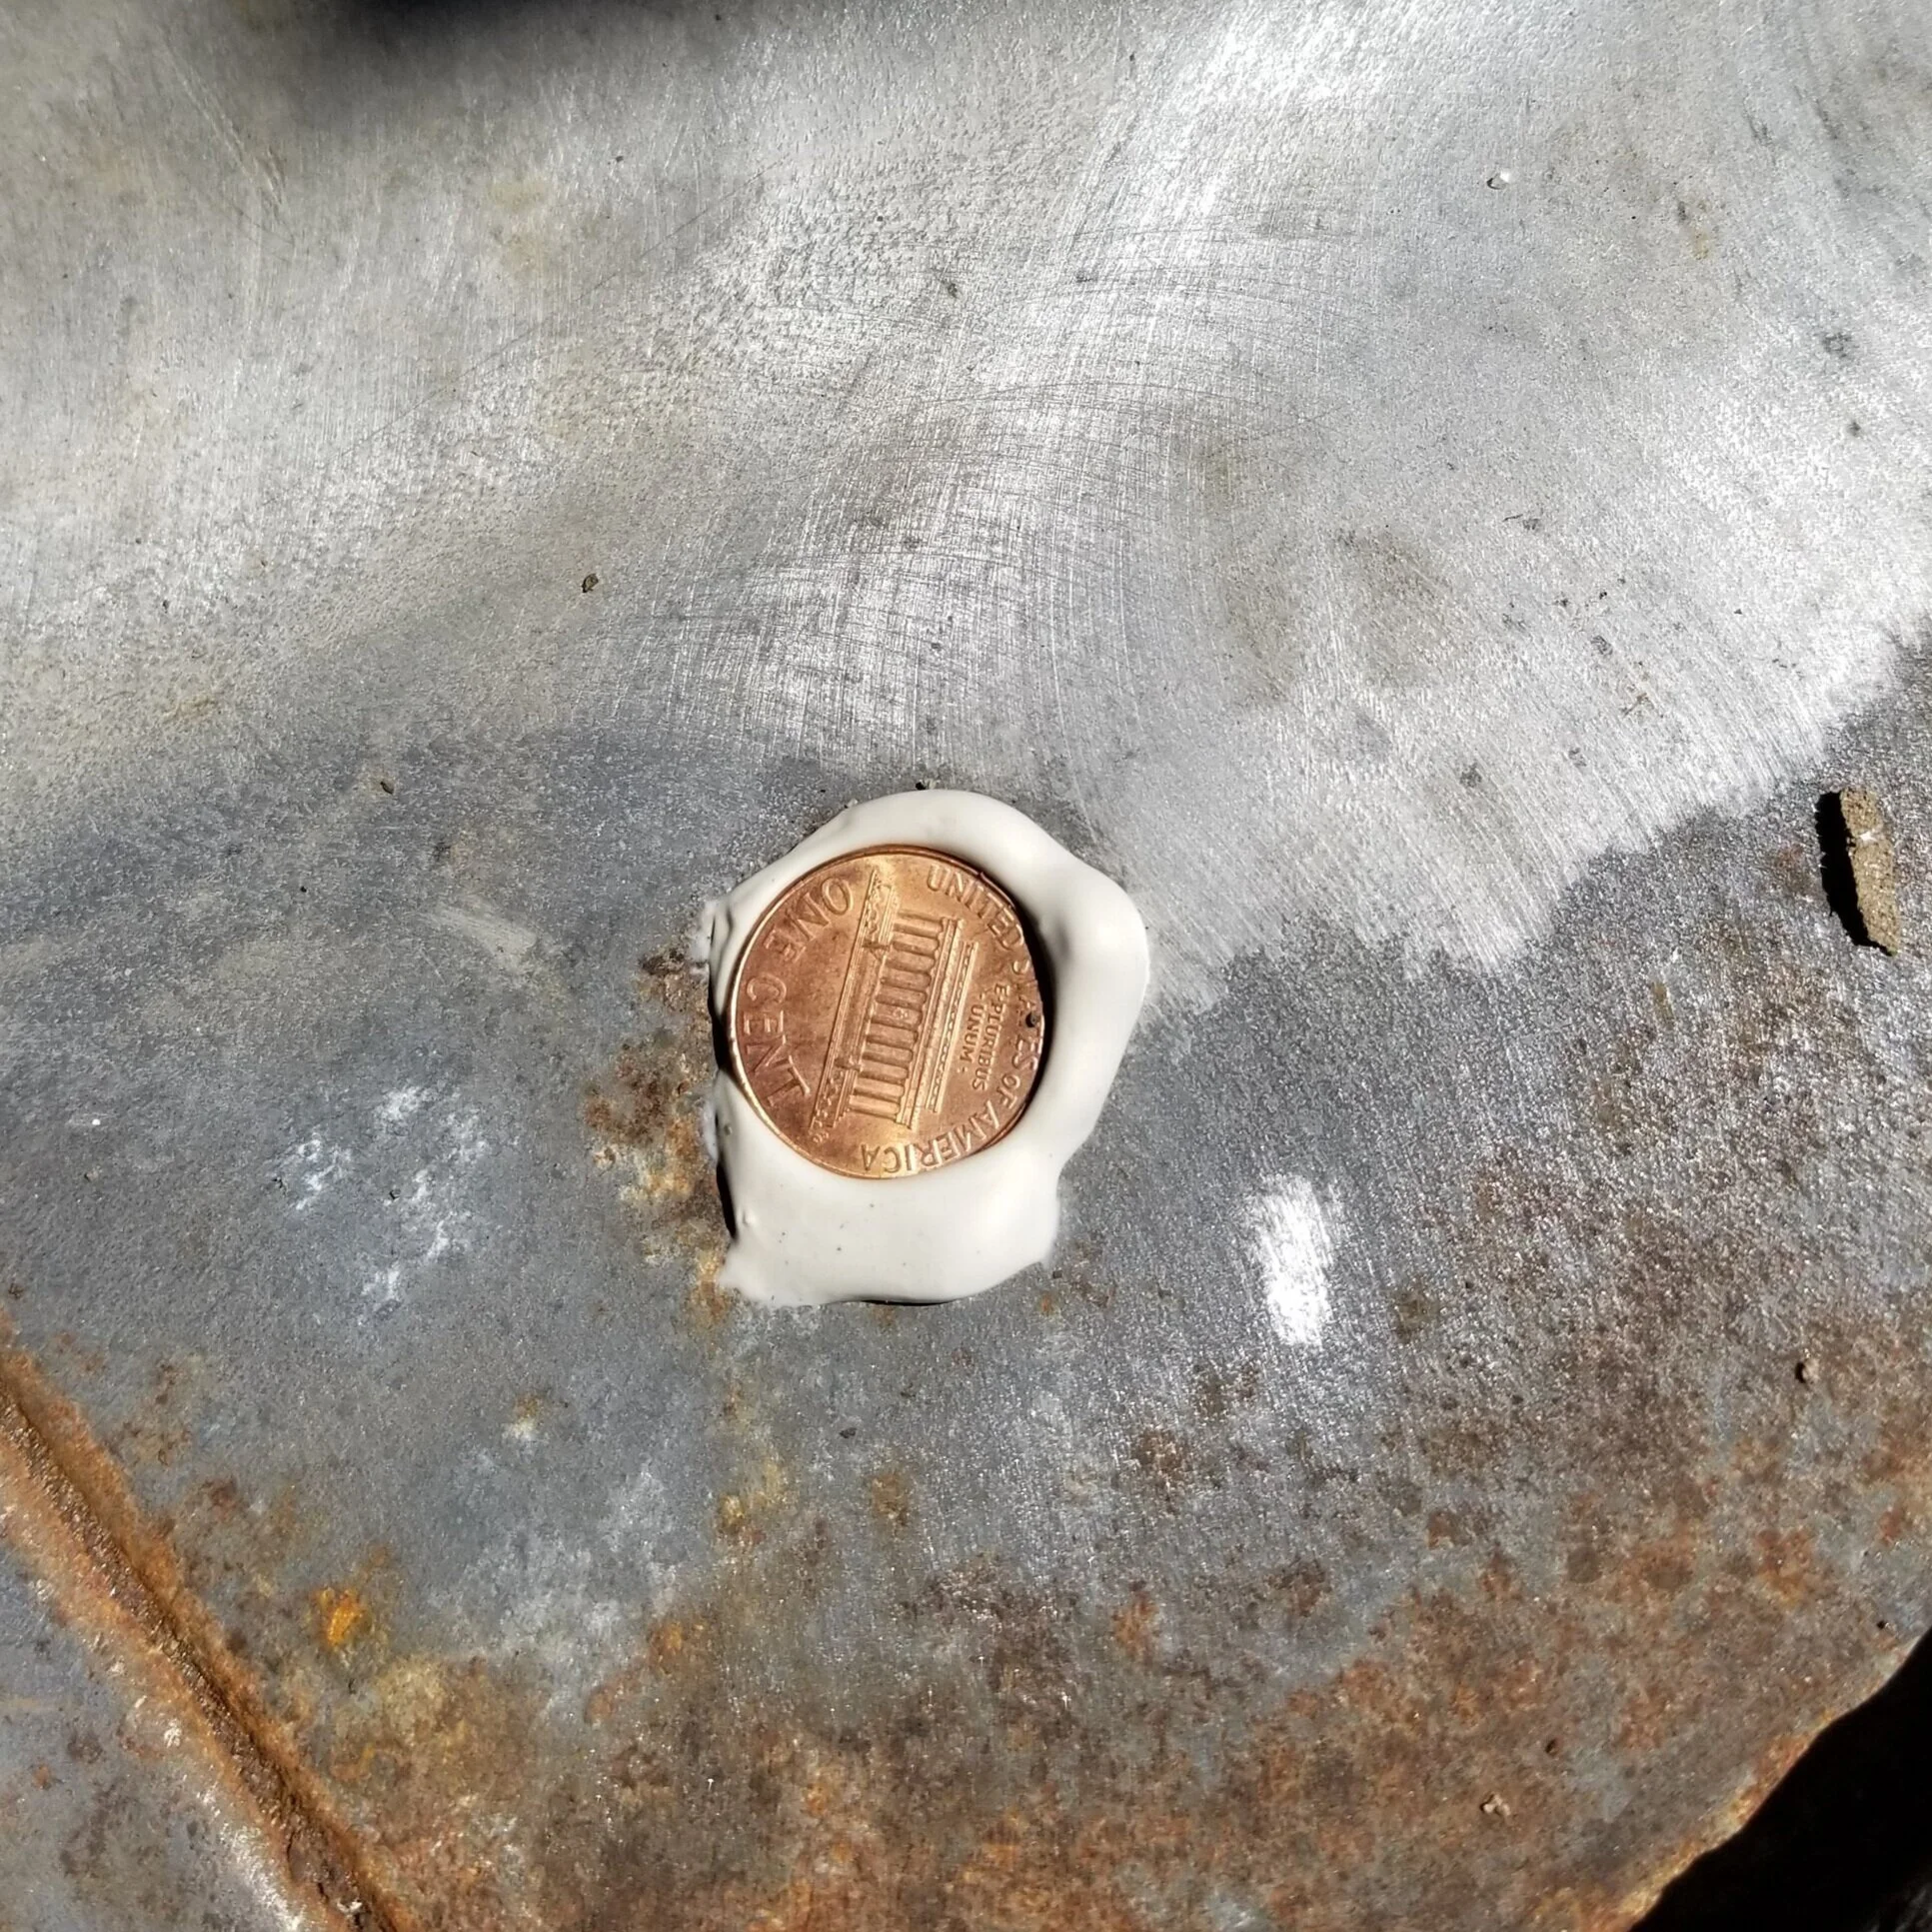
The holes in the floor also required patching; and after lifting up all of the seat runners (BIGGEST PAIN), there were many screw holes through the floor. We found a nifty vid online that showed patching these with PENNIES, so the base of our bus may have gotten ~$0.76 or so of value-added.
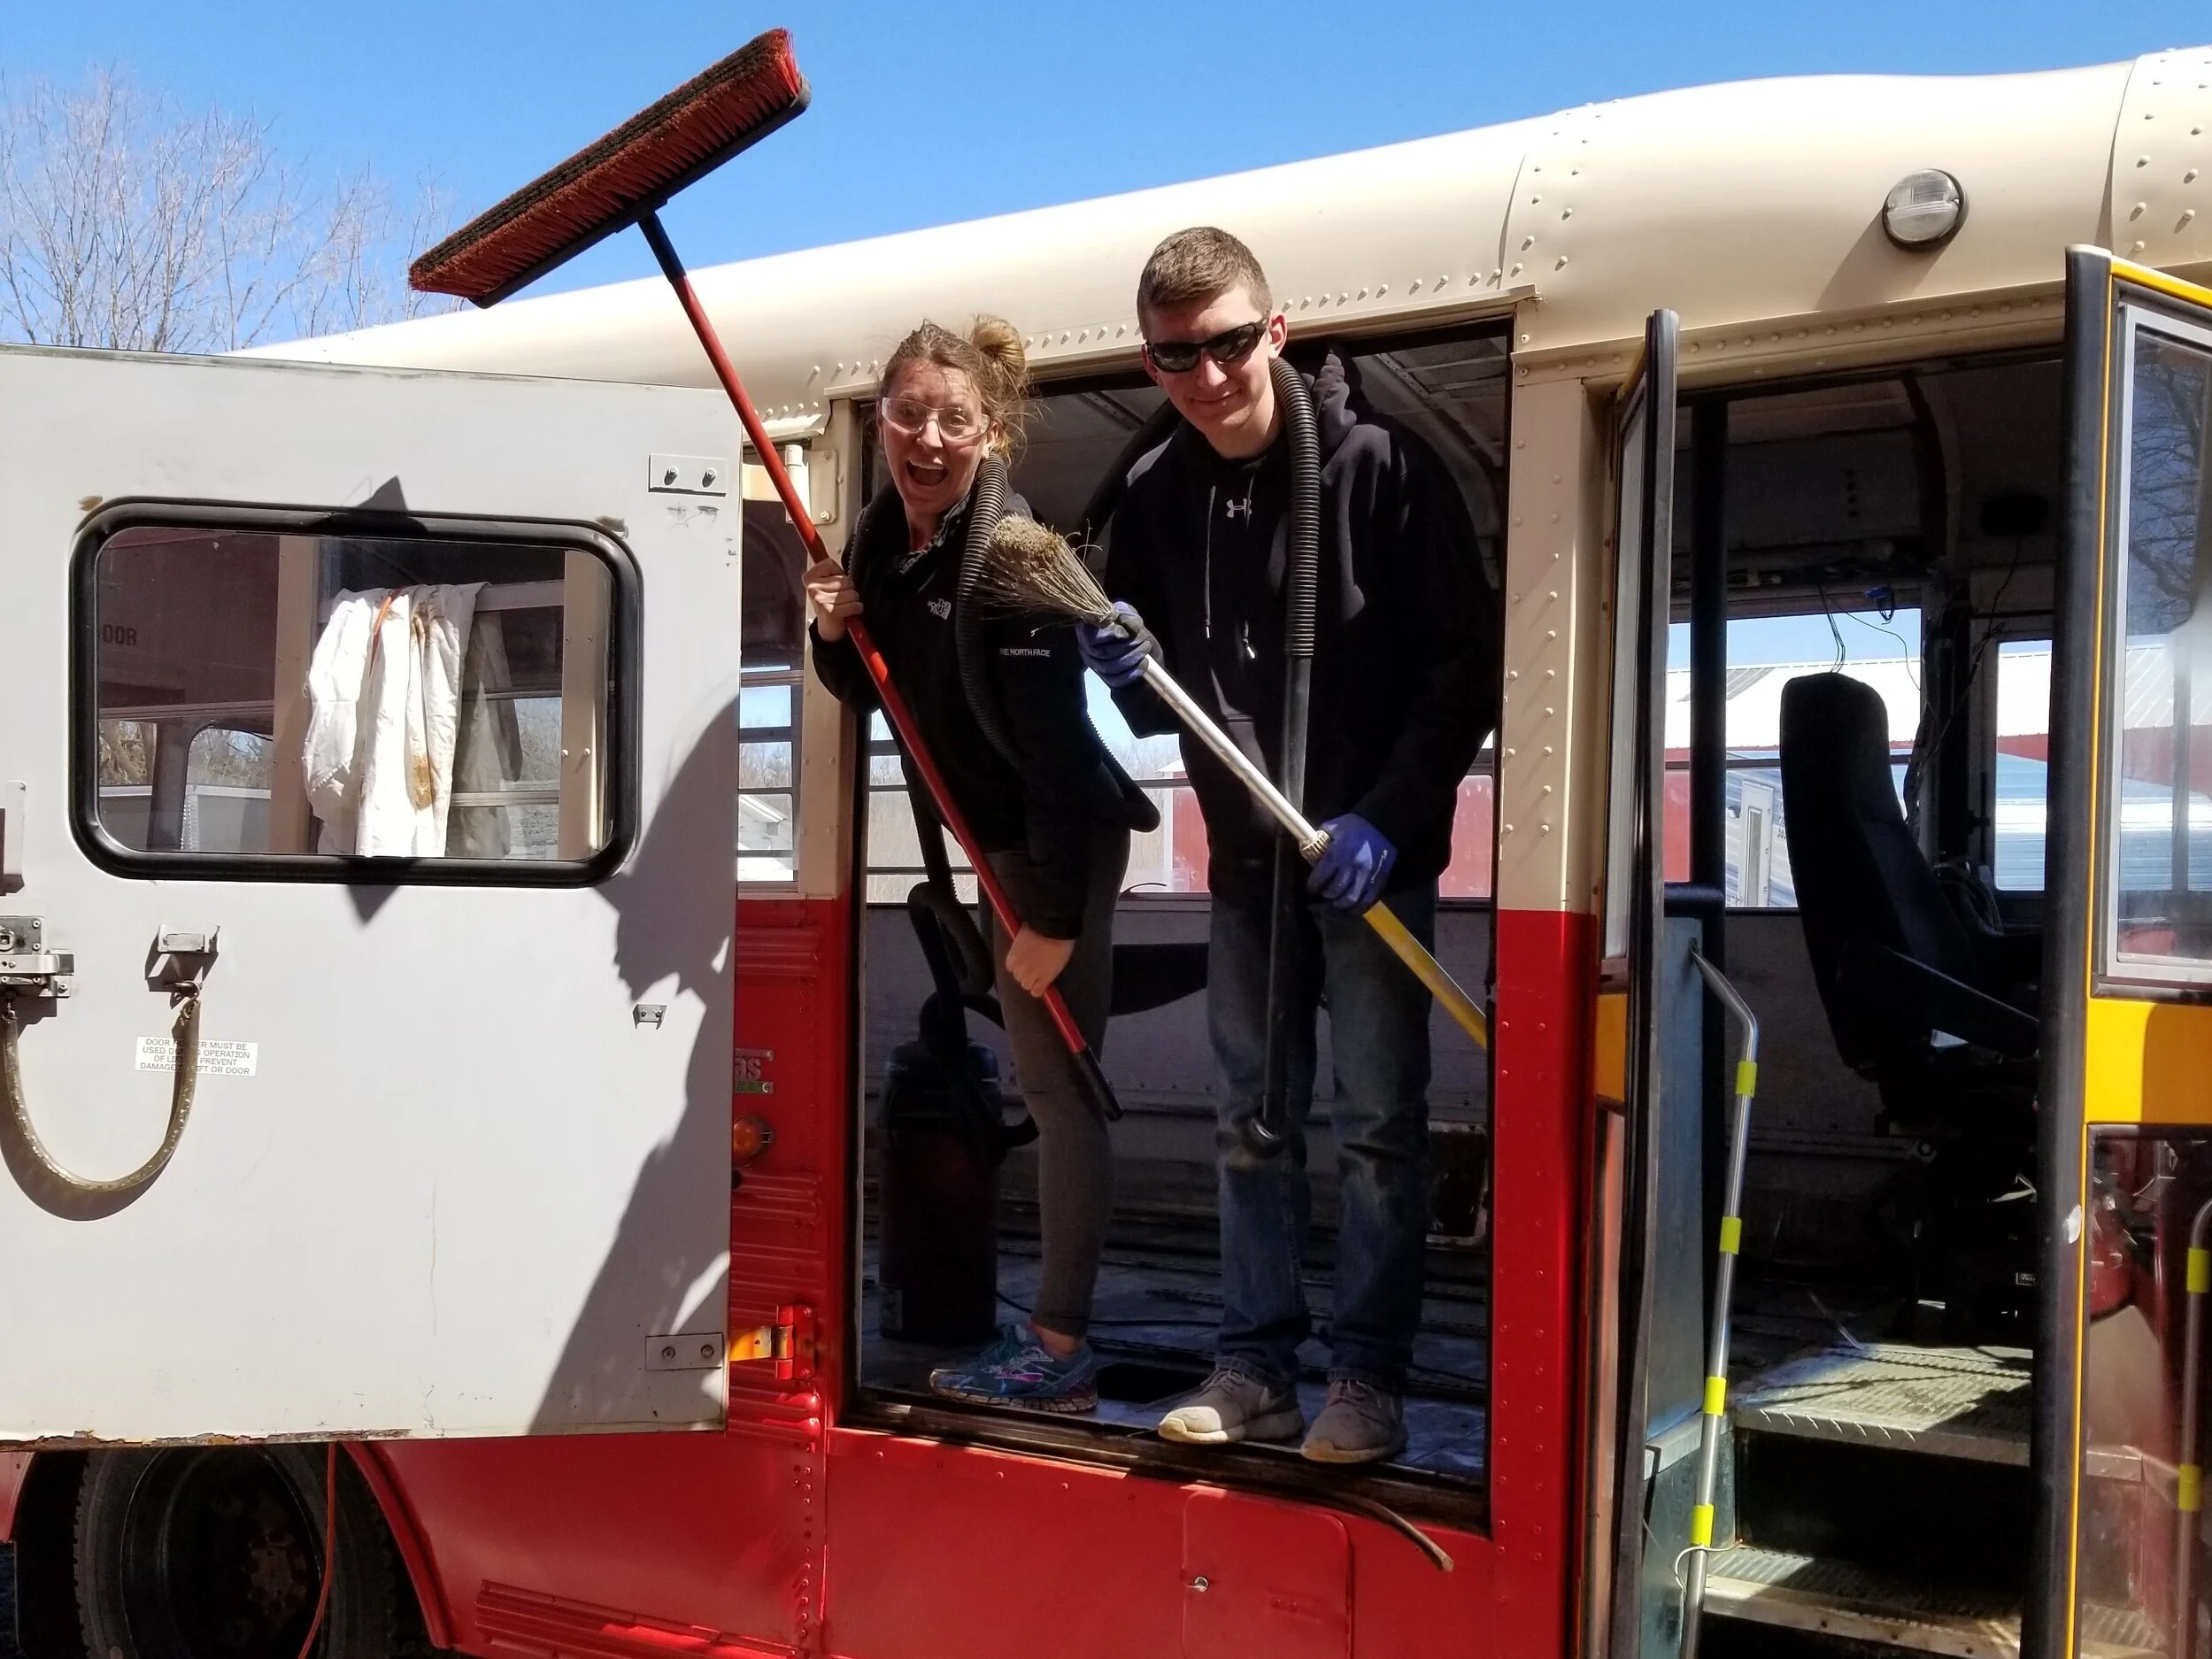
As natural as I know I look with a drill, I may just be a bit more skilled with a broom (naturally, born with it). :p Best brother bonding time we've had in YEARSSSS! S/O to all those who have came out and offered their calloused fingers - we APPRECIATE you.
Peace, love, and hammer through 'cause the strugs,
Your friend, Jen <3